Stripe Payment Integration
The Stripe Payment Integration in Mysched allows you to securely accept payments from your clients for the services they book through your platform. Stripe is a widely trusted and easy-to-use payment gateway that supports various payment methods, including credit and debit cards, as well as other local payment methods depending on the customer's region.
With Stripe, you can easily set up online payments without any complicated process, and this guide will walk you through how to integrate Stripe with Mysched to start accepting payments from your customers.
Steps to Set Up Stripe Integration
Step 1: Create a Stripe Account
First, you need to create a Stripe account. Go to the following link to register for a new Stripe account:
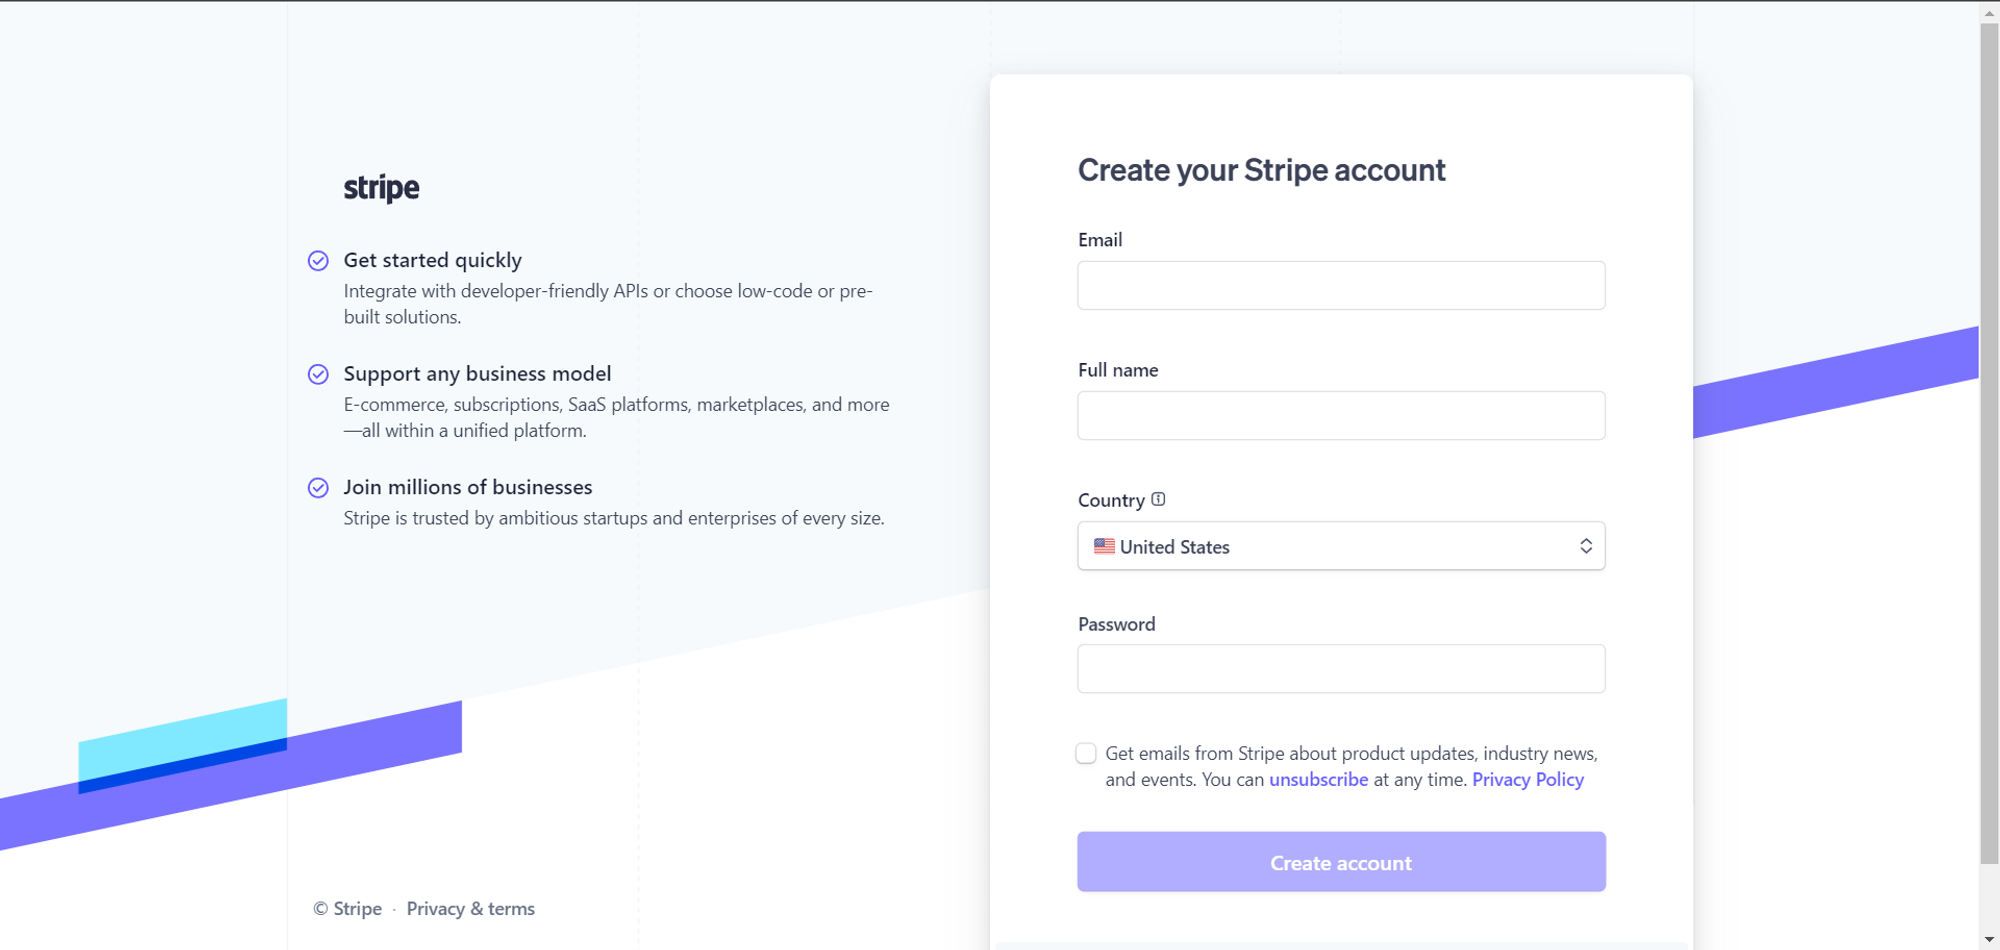
Fill in the required information, such as your business details and email address. Once the form is submitted, Stripe will send you an email to verify your email address.
Step 2: Verify Your Email
Once you receive the email from Stripe, click on the verification link inside the email to confirm your email address. After verification, you'll be redirected to your Stripe dashboard, which looks similar to this:

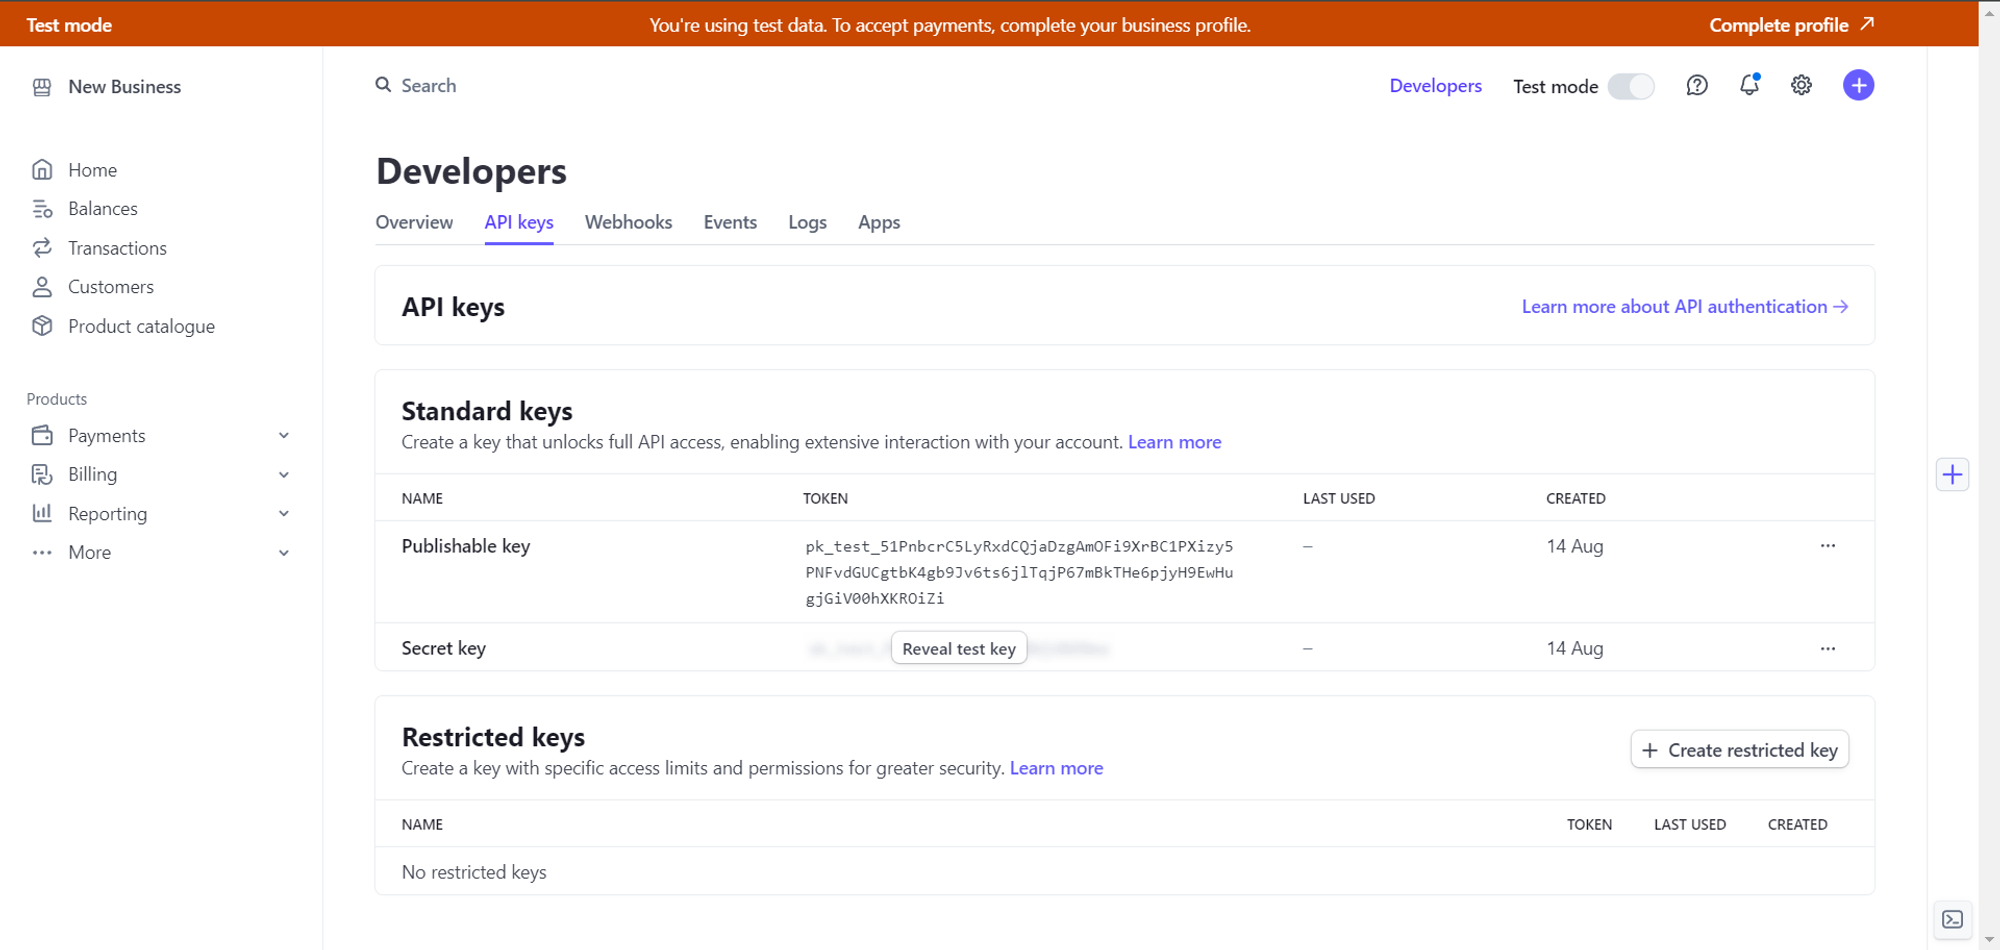
Step 3: Using Test Mode (Optional)
If you want to test Stripe payments before going live, you can use Stripe's test credentials. Simply visit the following link to access test API keys:
With these keys, you can simulate payments during the testing phase to ensure everything is working correctly.
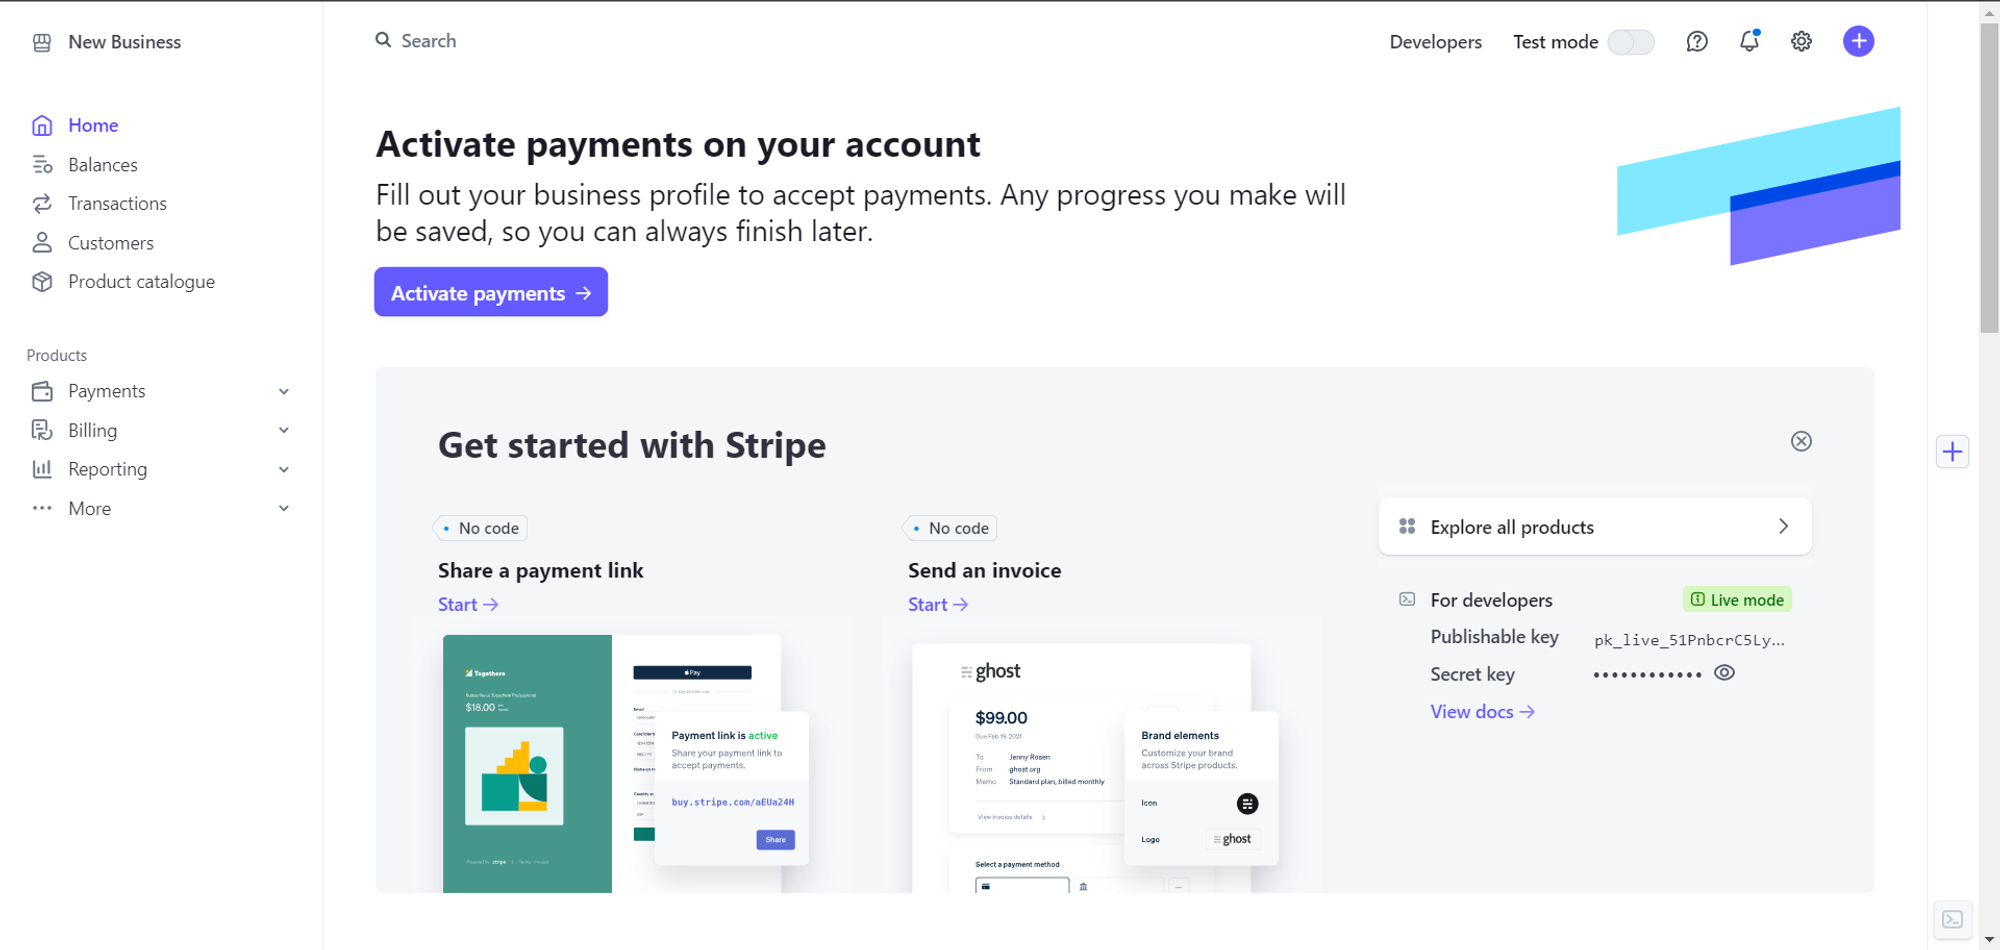
Step 4: Activate Real Payments
To start receiving real payments from your customers, you'll need to activate your Stripe account. Head back to the Stripe dashboard and click on the Activate Payments button:
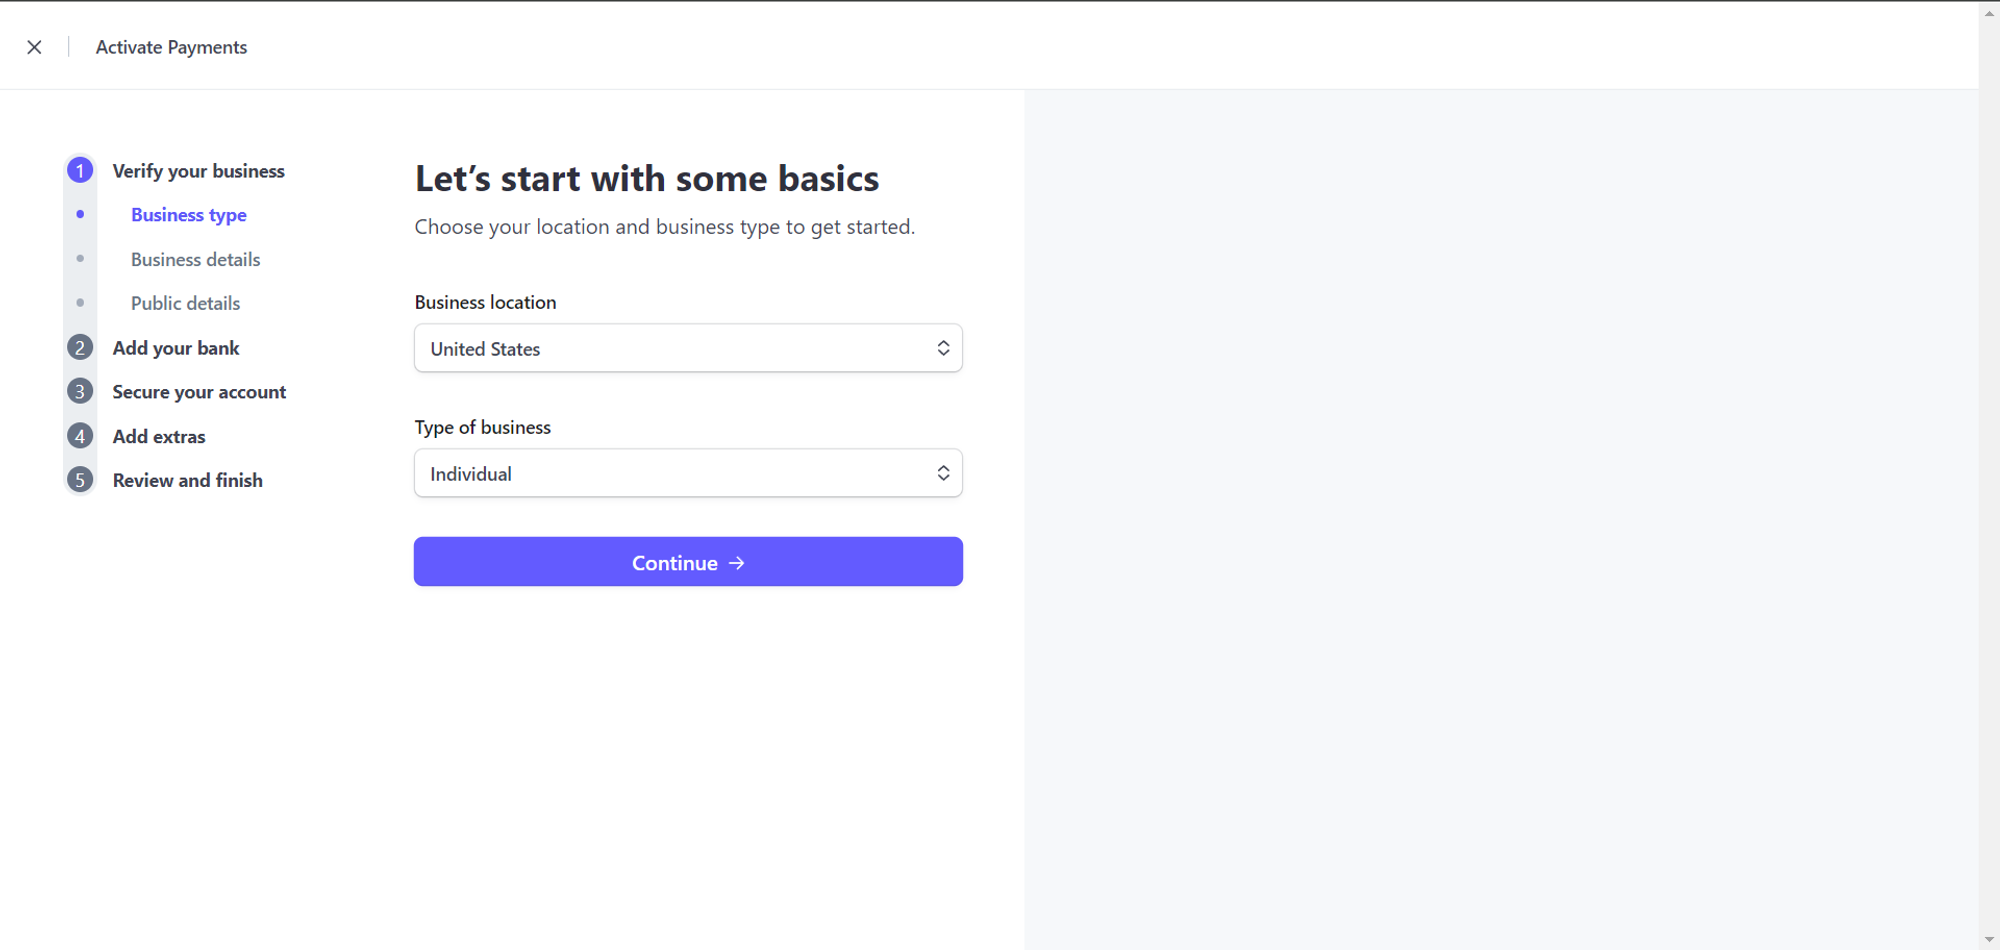
Step 5: Complete Business Verification
After clicking Activate Payments, you will be asked to provide legal information to verify your identity and business details. This process ensures that you are legally allowed to accept payments.
You will be required to fill in the following details:
- Business name
- Address
- Bank account details for payouts
- Tax identification number (if applicable)
Once you've completed the form, click on Agree and Submit to finish the activation process.
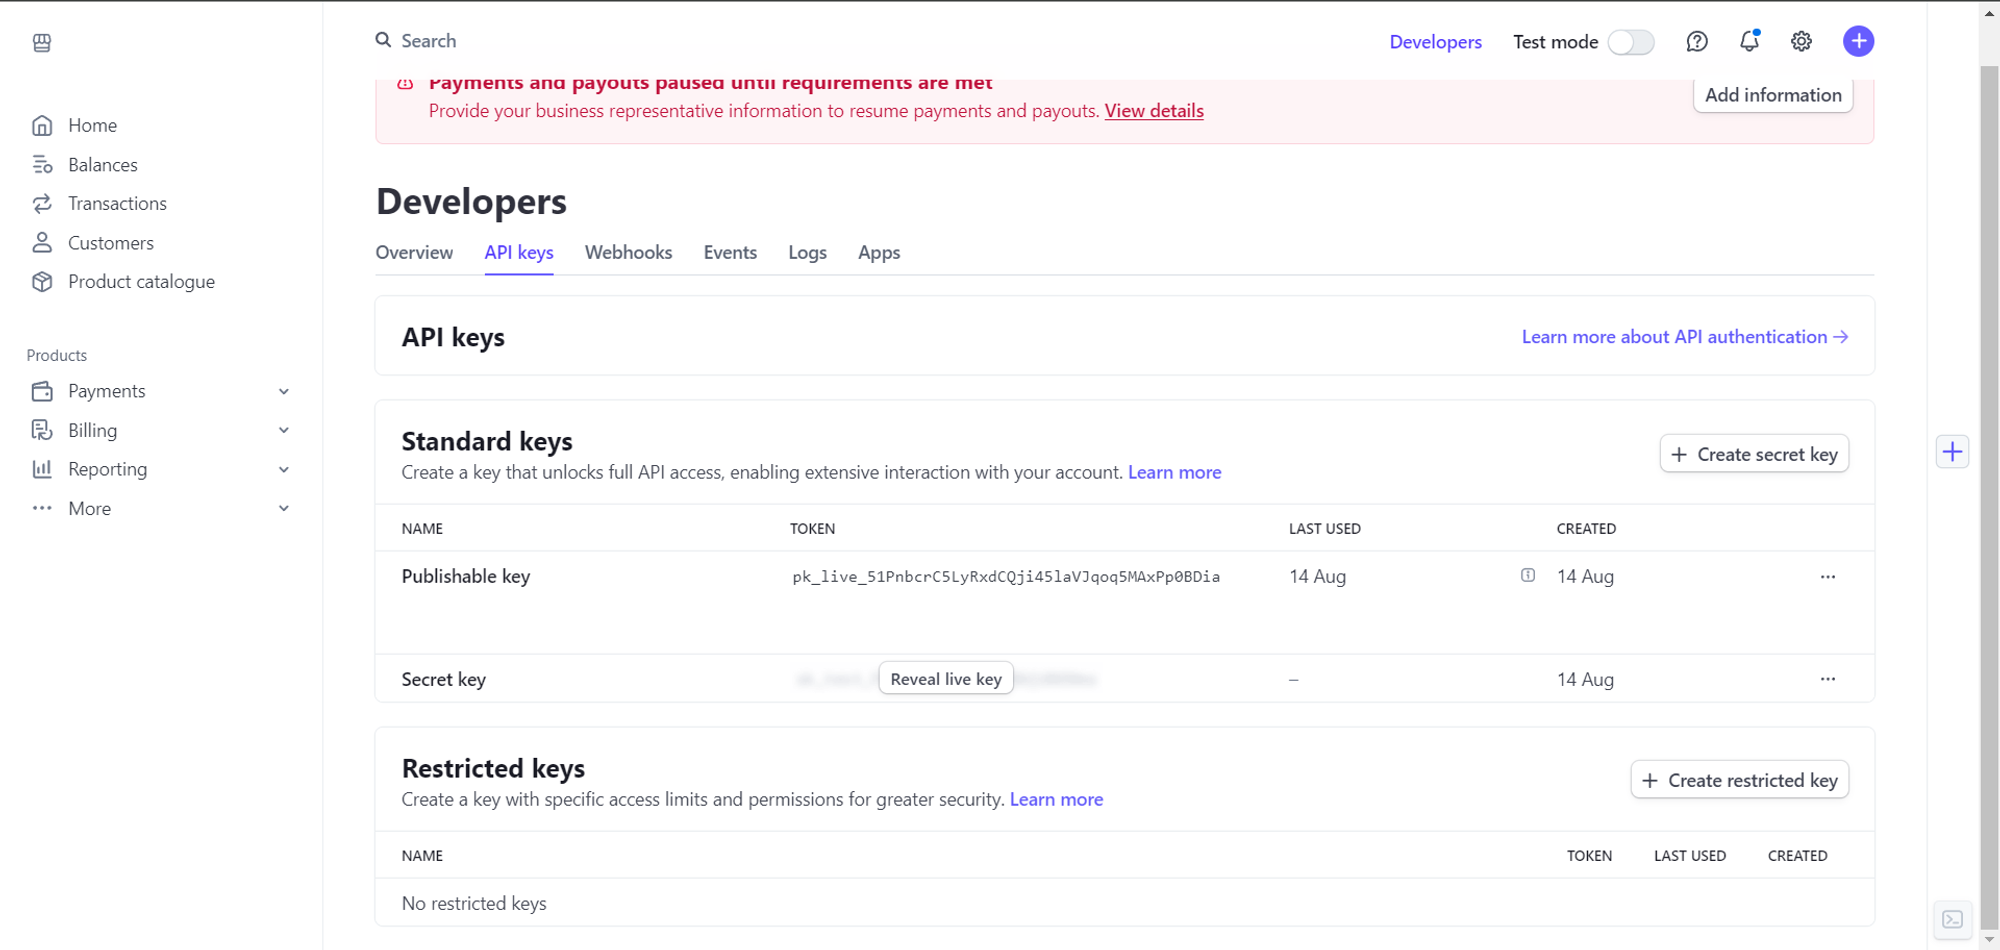
Step 6: Get Your Live API Keys
After verifying your account, you will now have access to your Live API keys. These are the keys you will use to start accepting real payments from your customers. Visit the following link to retrieve your live keys:
Step 7: Add Stripe API Keys to Mysched
In the Mysched dashboard, navigate to the Payment Settings section. Here, you'll need to paste the following two API keys from Stripe:
- Publishable Key
- Secret Key
Copy these keys from your Stripe dashboard and paste them into the corresponding fields in Mysched.
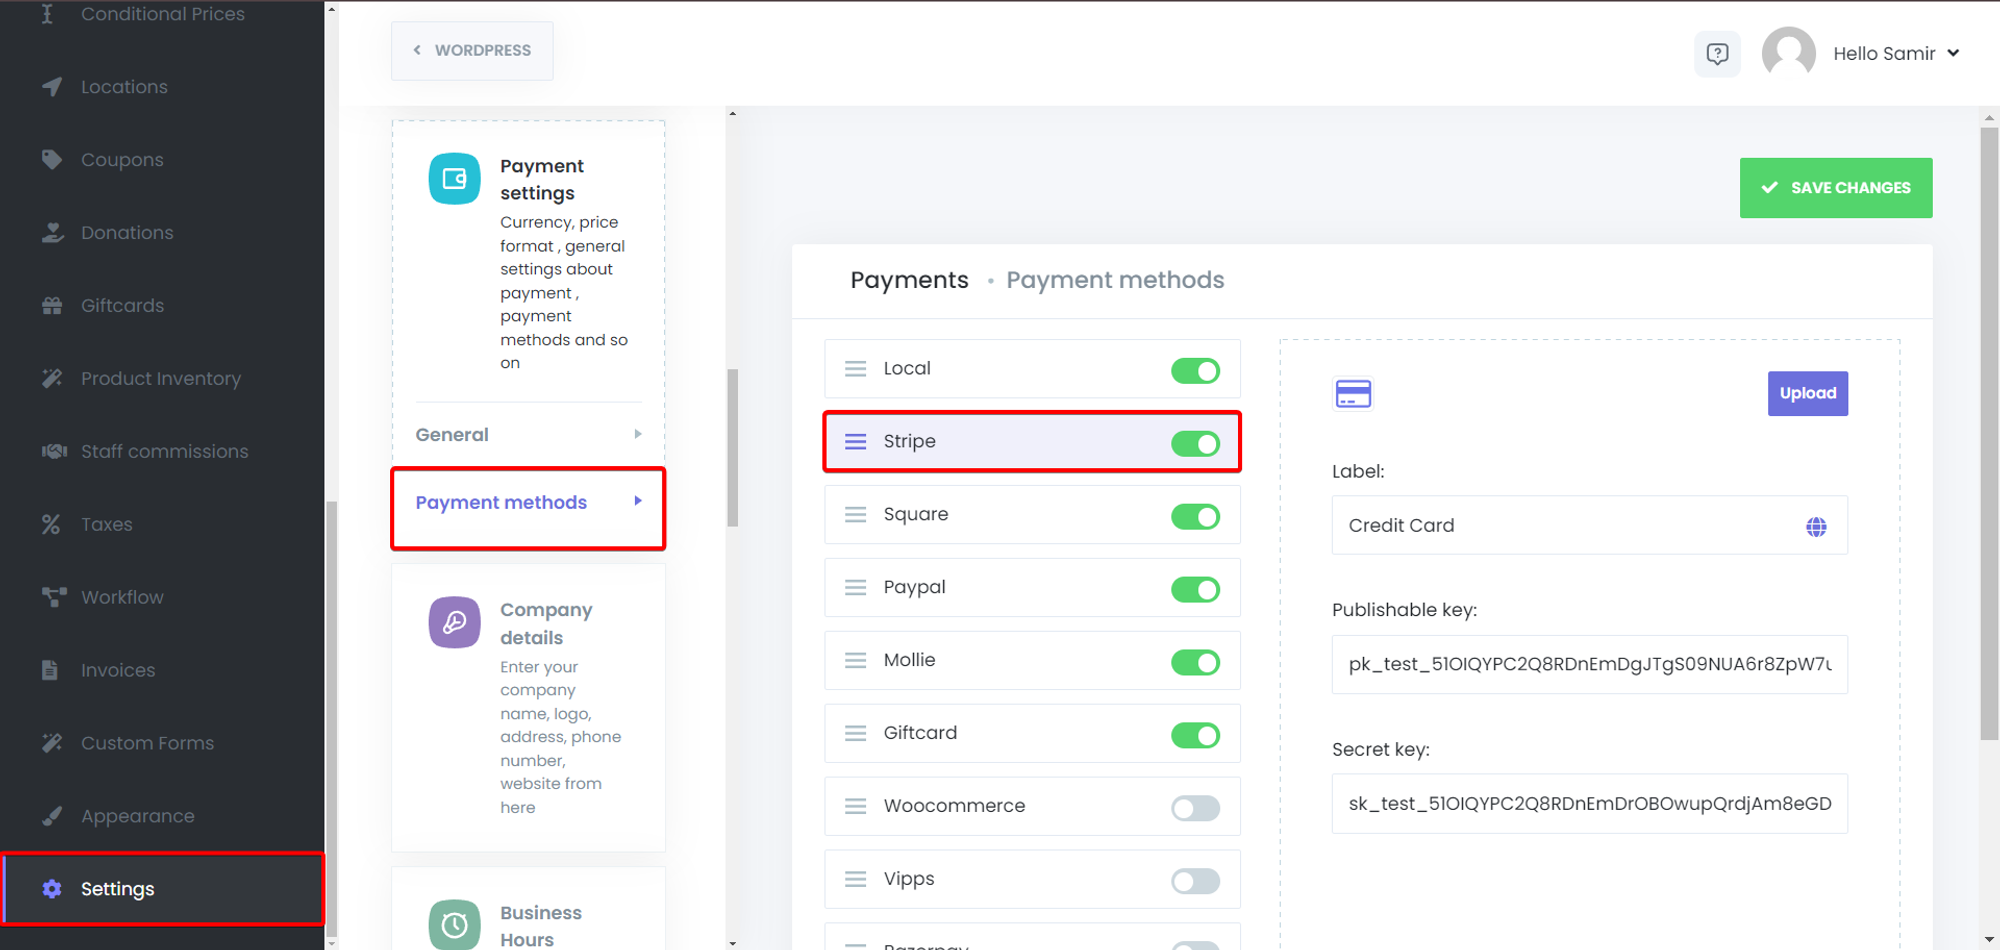
Step 8: Save Changes
Once you have entered the Publishable Key and Secret Key, click on the Save Changes button located at the top-right corner of the page. This will complete the integration process, and Stripe will now be fully connected to your Mysched account.
Testing Your Integration
Before going live, it's recommended to test your Stripe integration by switching to Test Mode. You can use the Test API keys and simulate transactions to ensure everything works as expected. Once you're confident, switch back to Live Mode and start accepting real payments.
Managing Payments
You can view all the transactions processed through Stripe in the Payments section of your Mysched dashboard. This section allows you to track incoming payments, refunds, and any transaction-related issues that might arise.
With Stripe Payment Integration, you can securely manage online payments for all your services in Mysched. This integration simplifies the payment process for both you and your customers, ensuring smooth transactions and a better customer experience.