PayPal Payment Integration
The PayPal Payment Integration in Mysched allows you to securely accept payments from your customers using PayPal. This guide will walk you through the steps to integrate PayPal with Mysched, so you can start receiving payments quickly and easily.
Steps to Set Up PayPal Integration
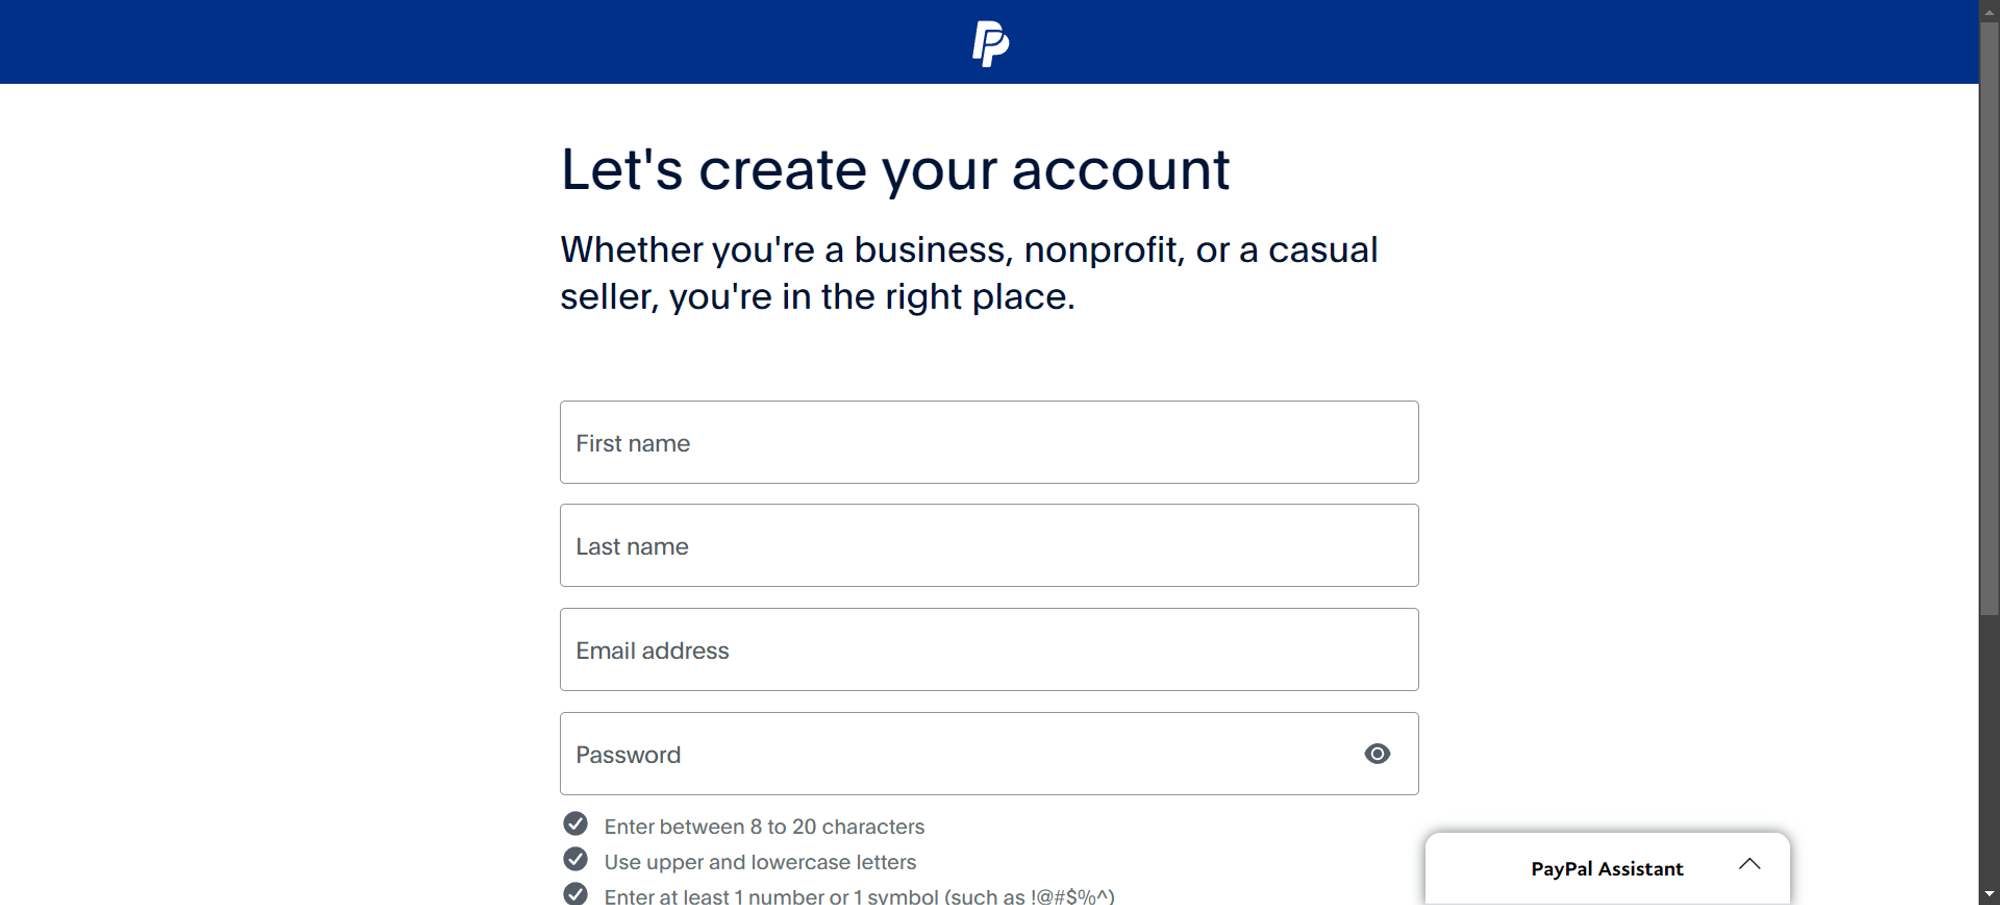
Step 1: Create a PayPal Business Account
To begin, you must first create a PayPal Business account. You can do this by visiting the following link: PayPal Business Signup.
Once on the provided page, you'll need to fill in the necessary fields to continue with the account creation process.
Step 2: Confirm Your Email Address
After filling out the form, PayPal will ask you to confirm your email address. You will receive a code via email, which you must enter to proceed.
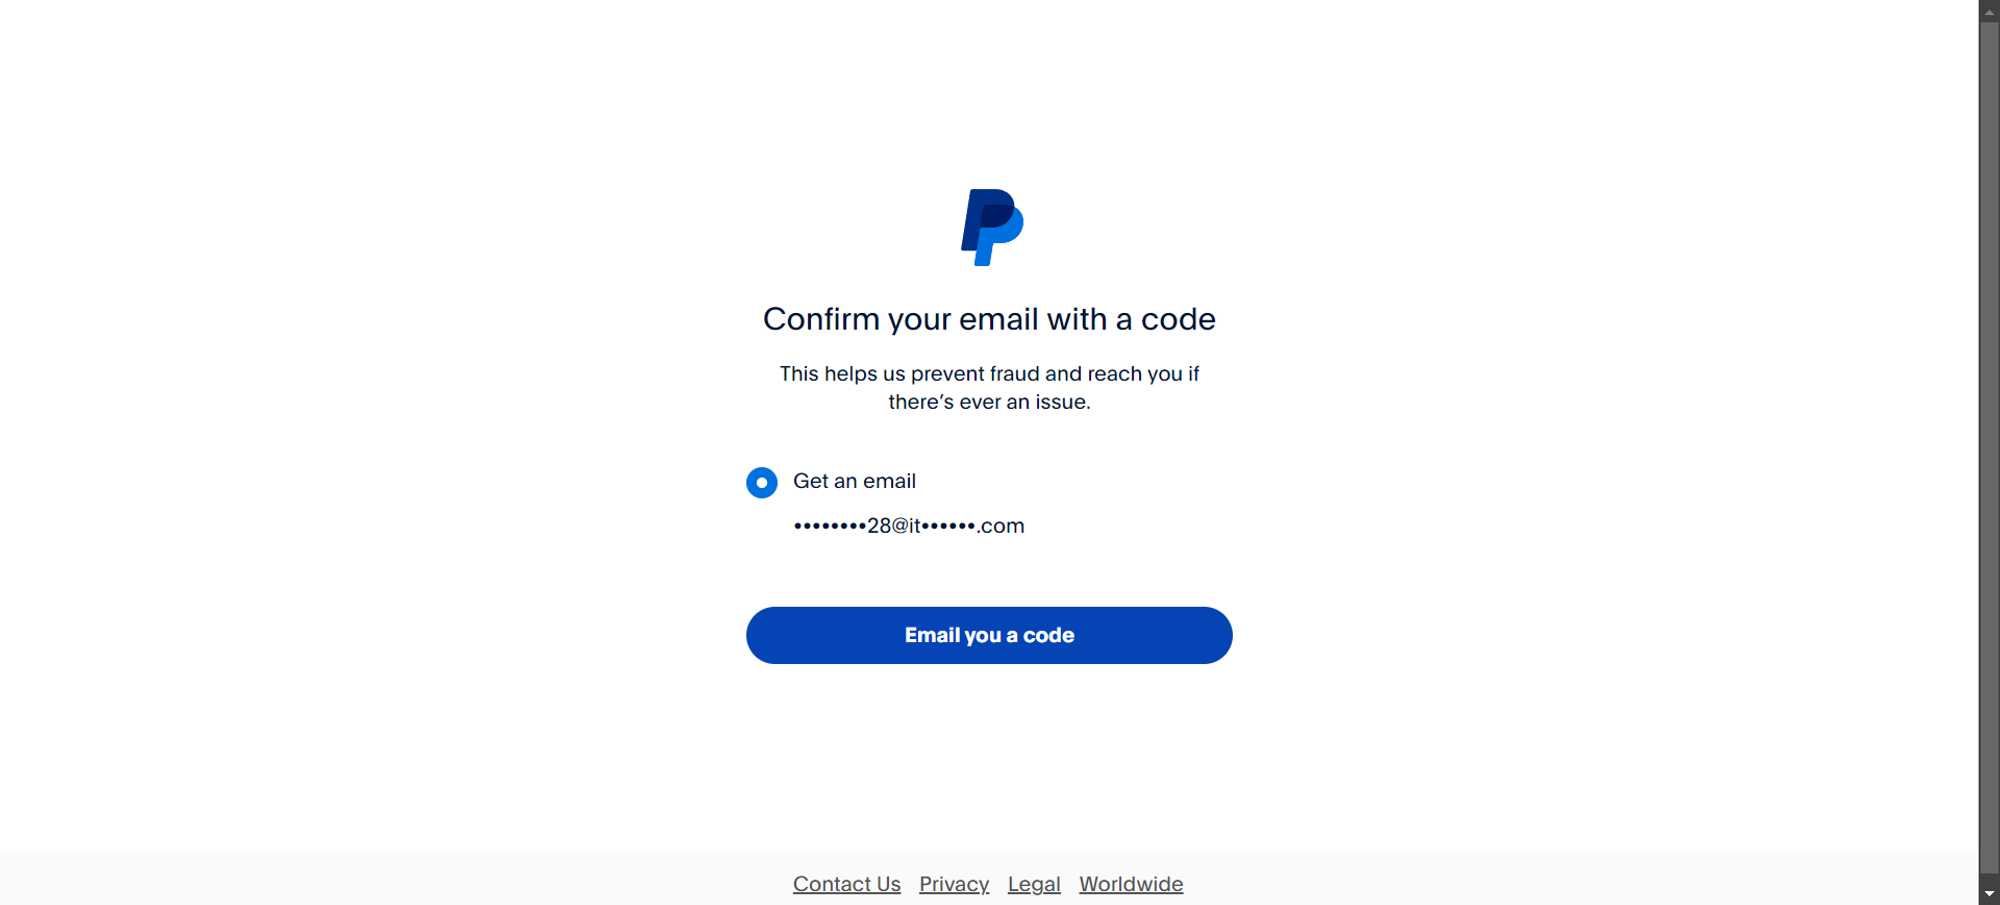
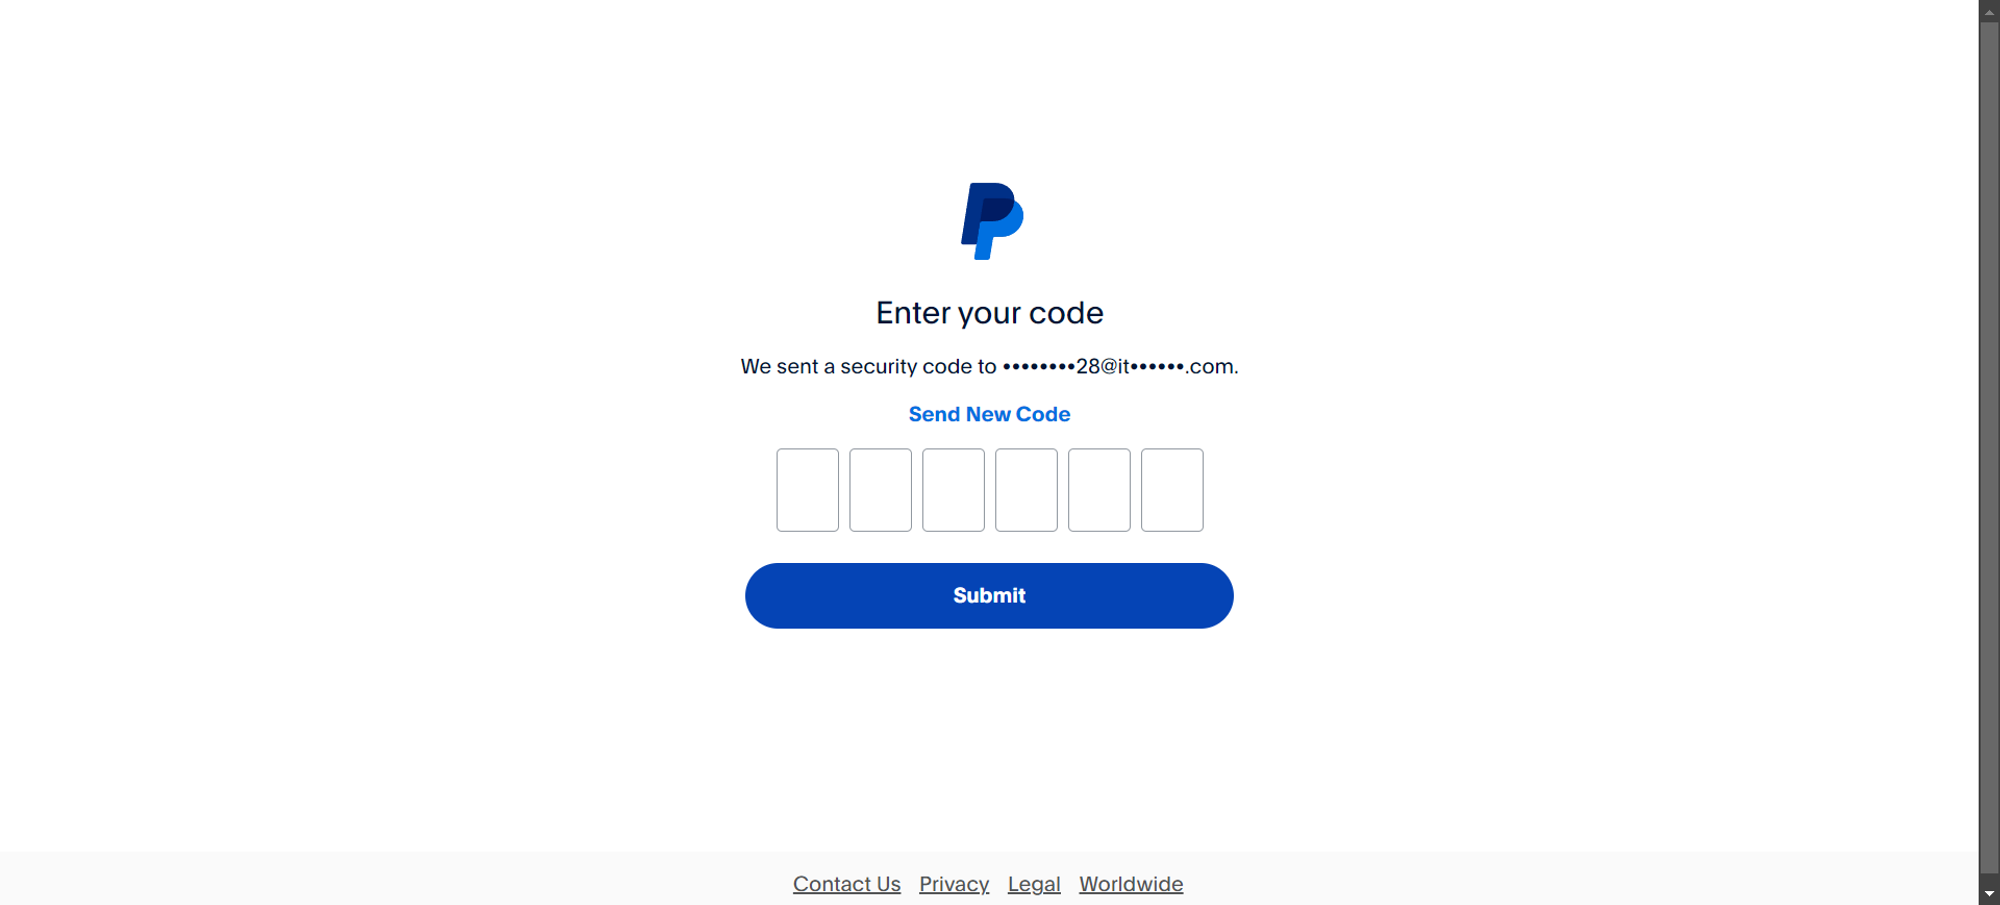
Step 3: Receive a Confirmation Code
Click the "Email you a code" button, and PayPal will send a confirmation code to the email address you used for registration. Enter the code on the next screen to verify your email.
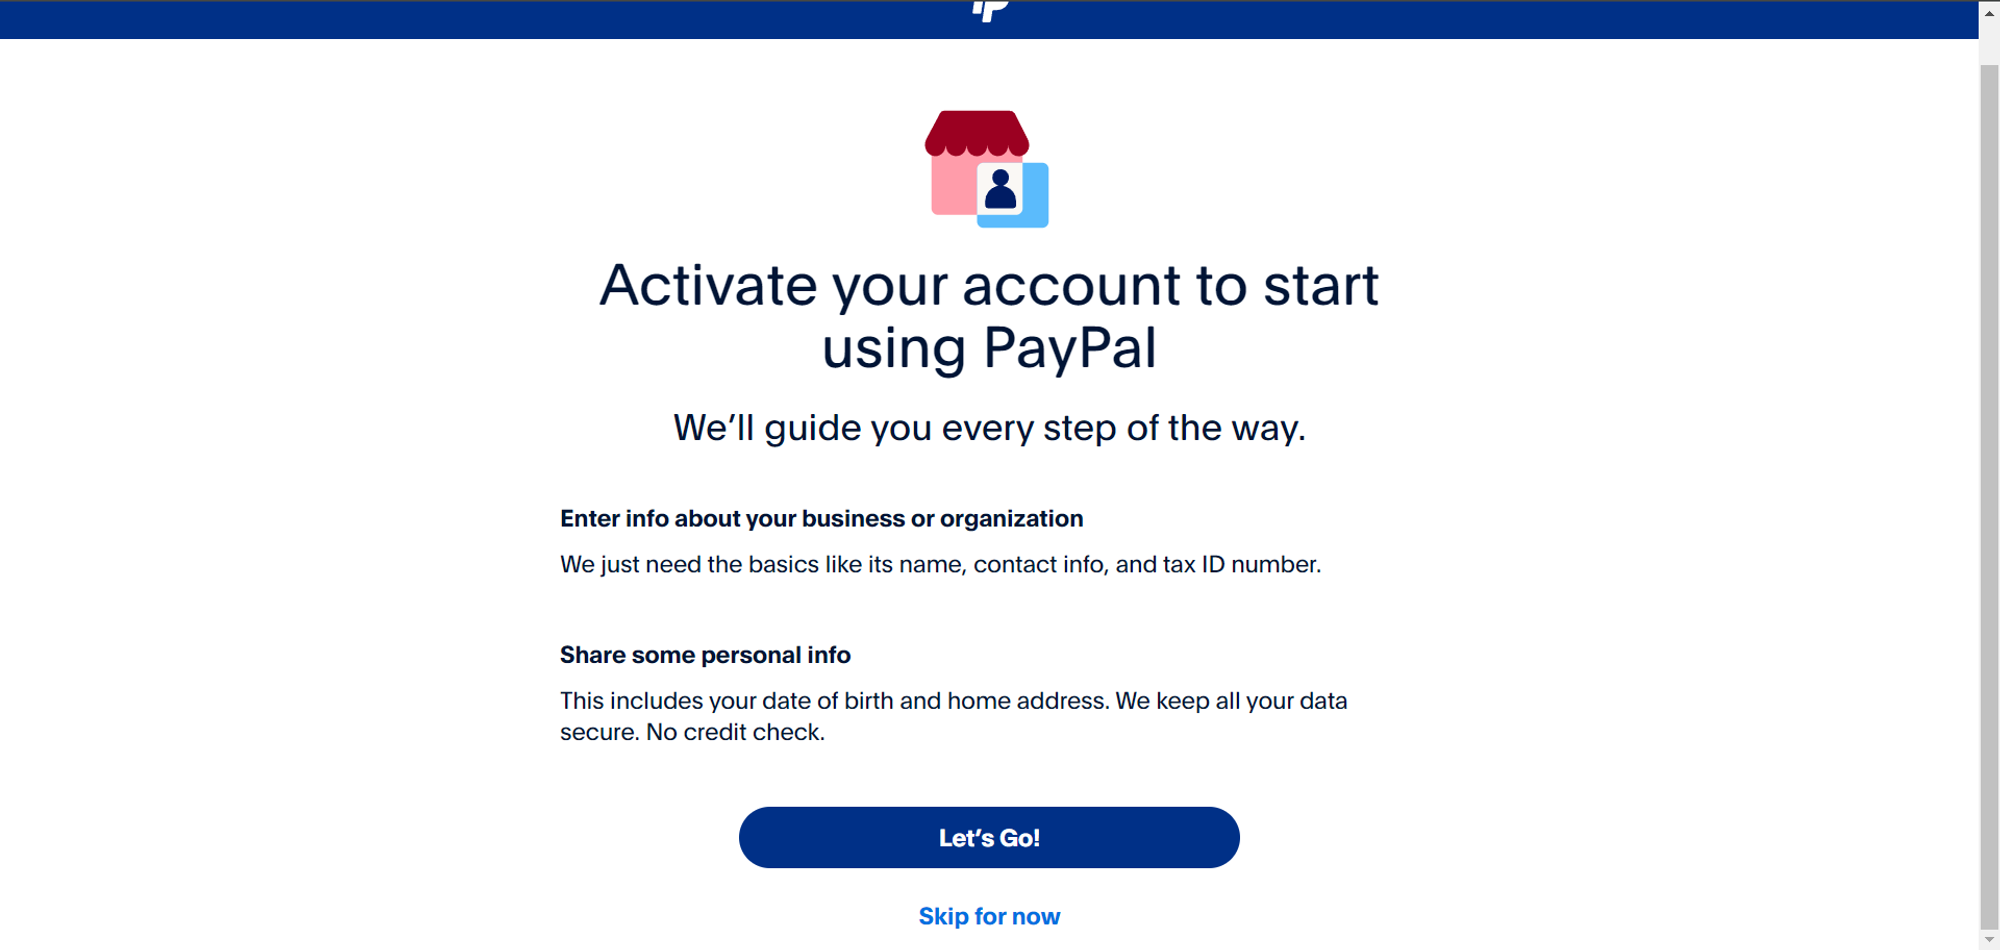
Step 4: Activate Your PayPal Account
Next, PayPal will guide you through the account activation process. Click "Let’s Go!" to begin. You will need to answer some questions and provide proof of your identity and business.

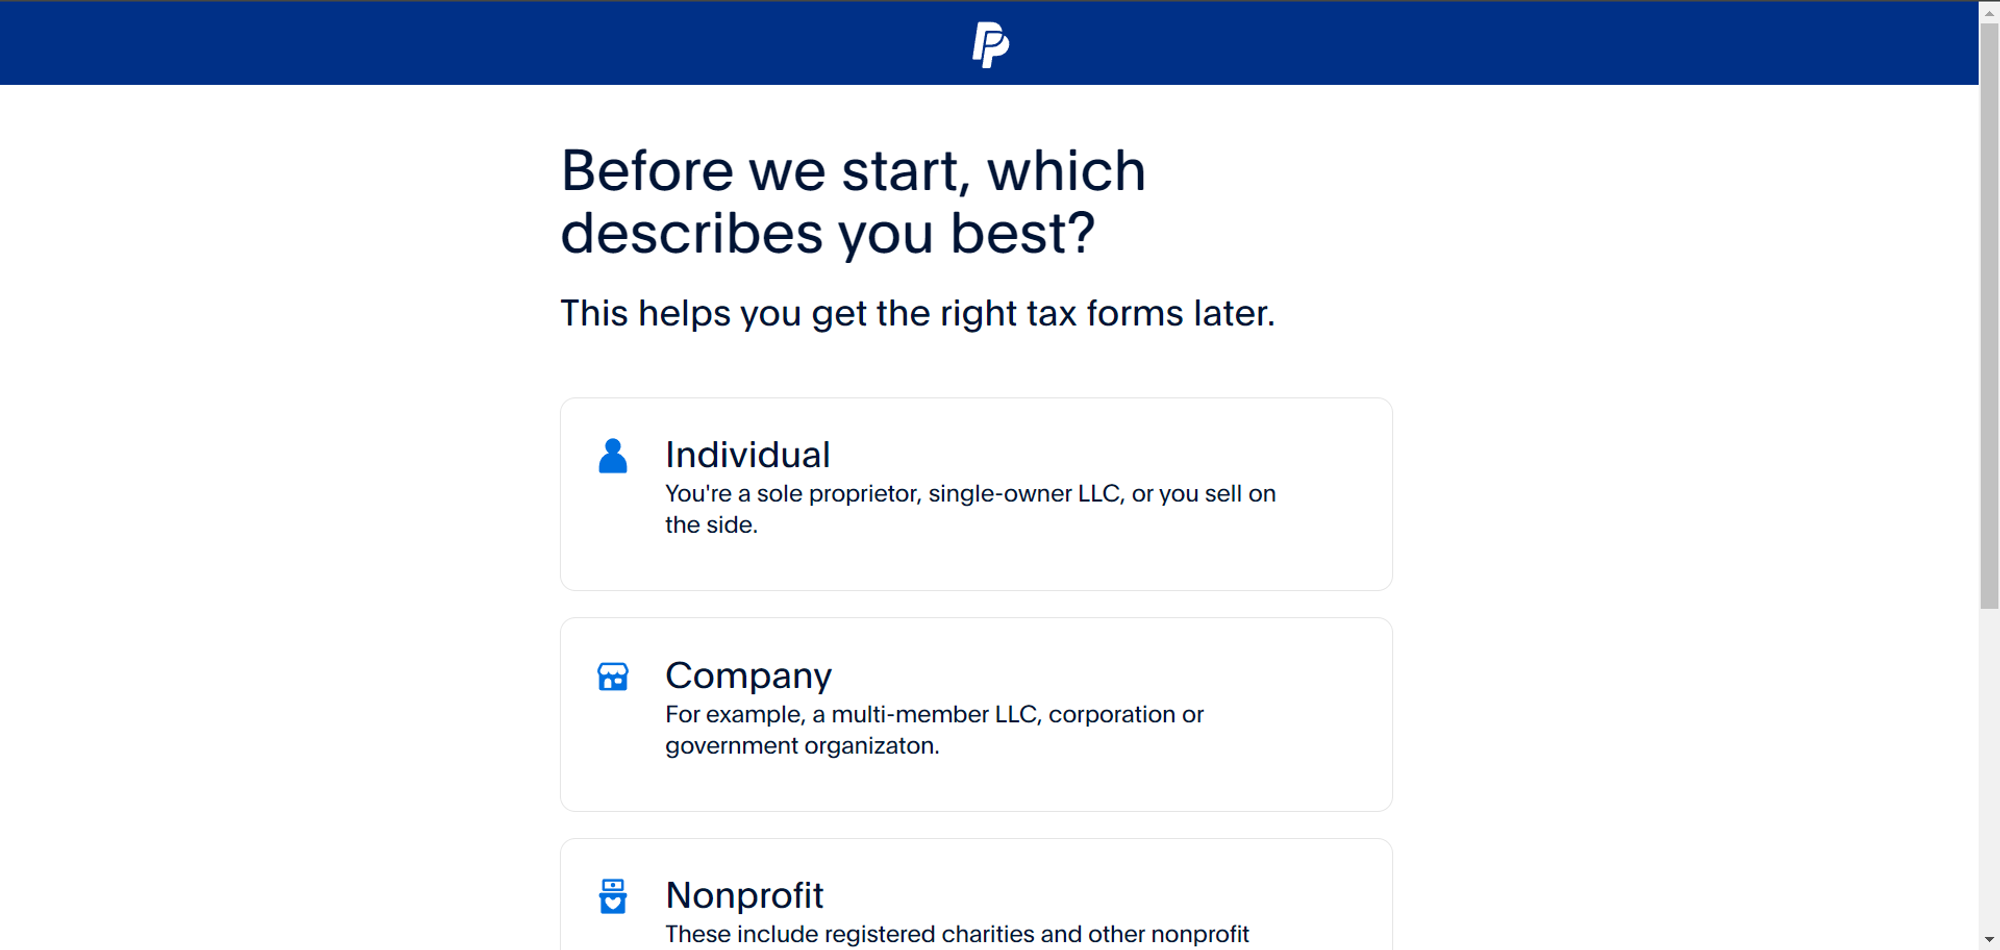
Step 5: Select Your Business Type
Choose your business type in the next step. Based on your selection, PayPal will provide relevant forms to activate your account.
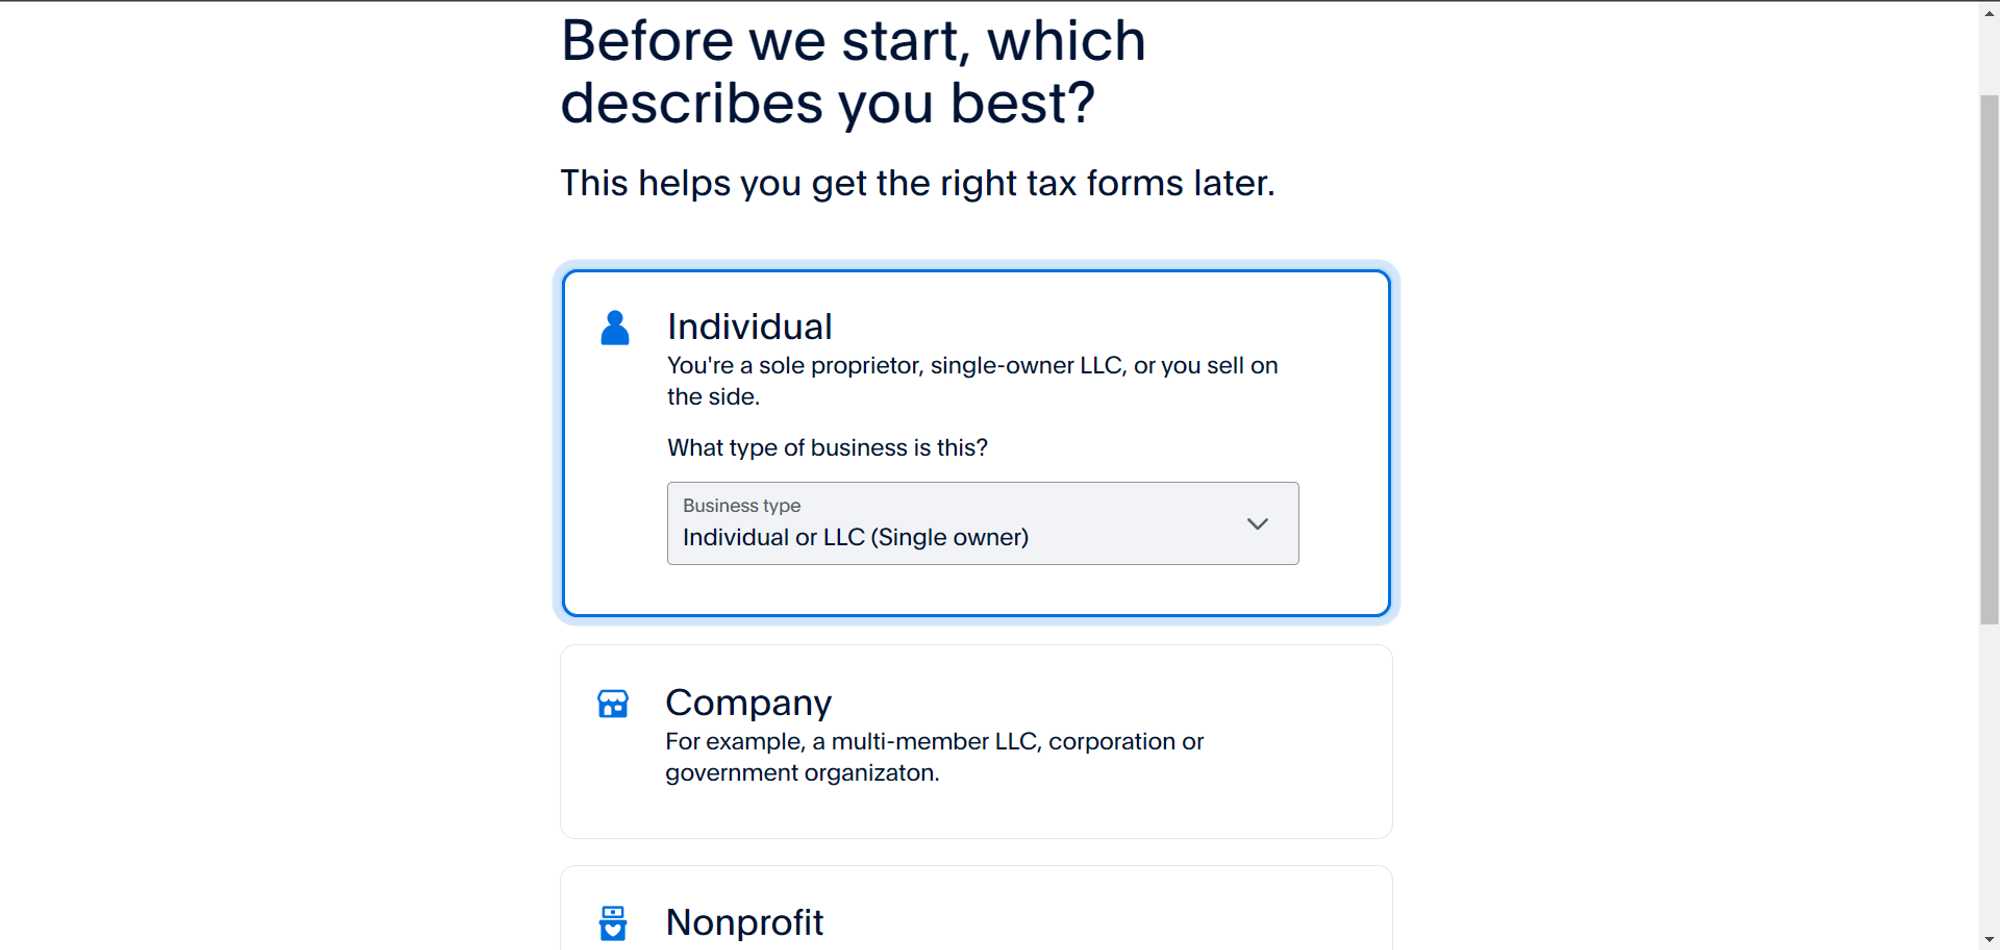
Step 6: Confirm Business Information
For instance, if you choose Individual, your business type will automatically be selected as "Individual or LLC (Single owner)".
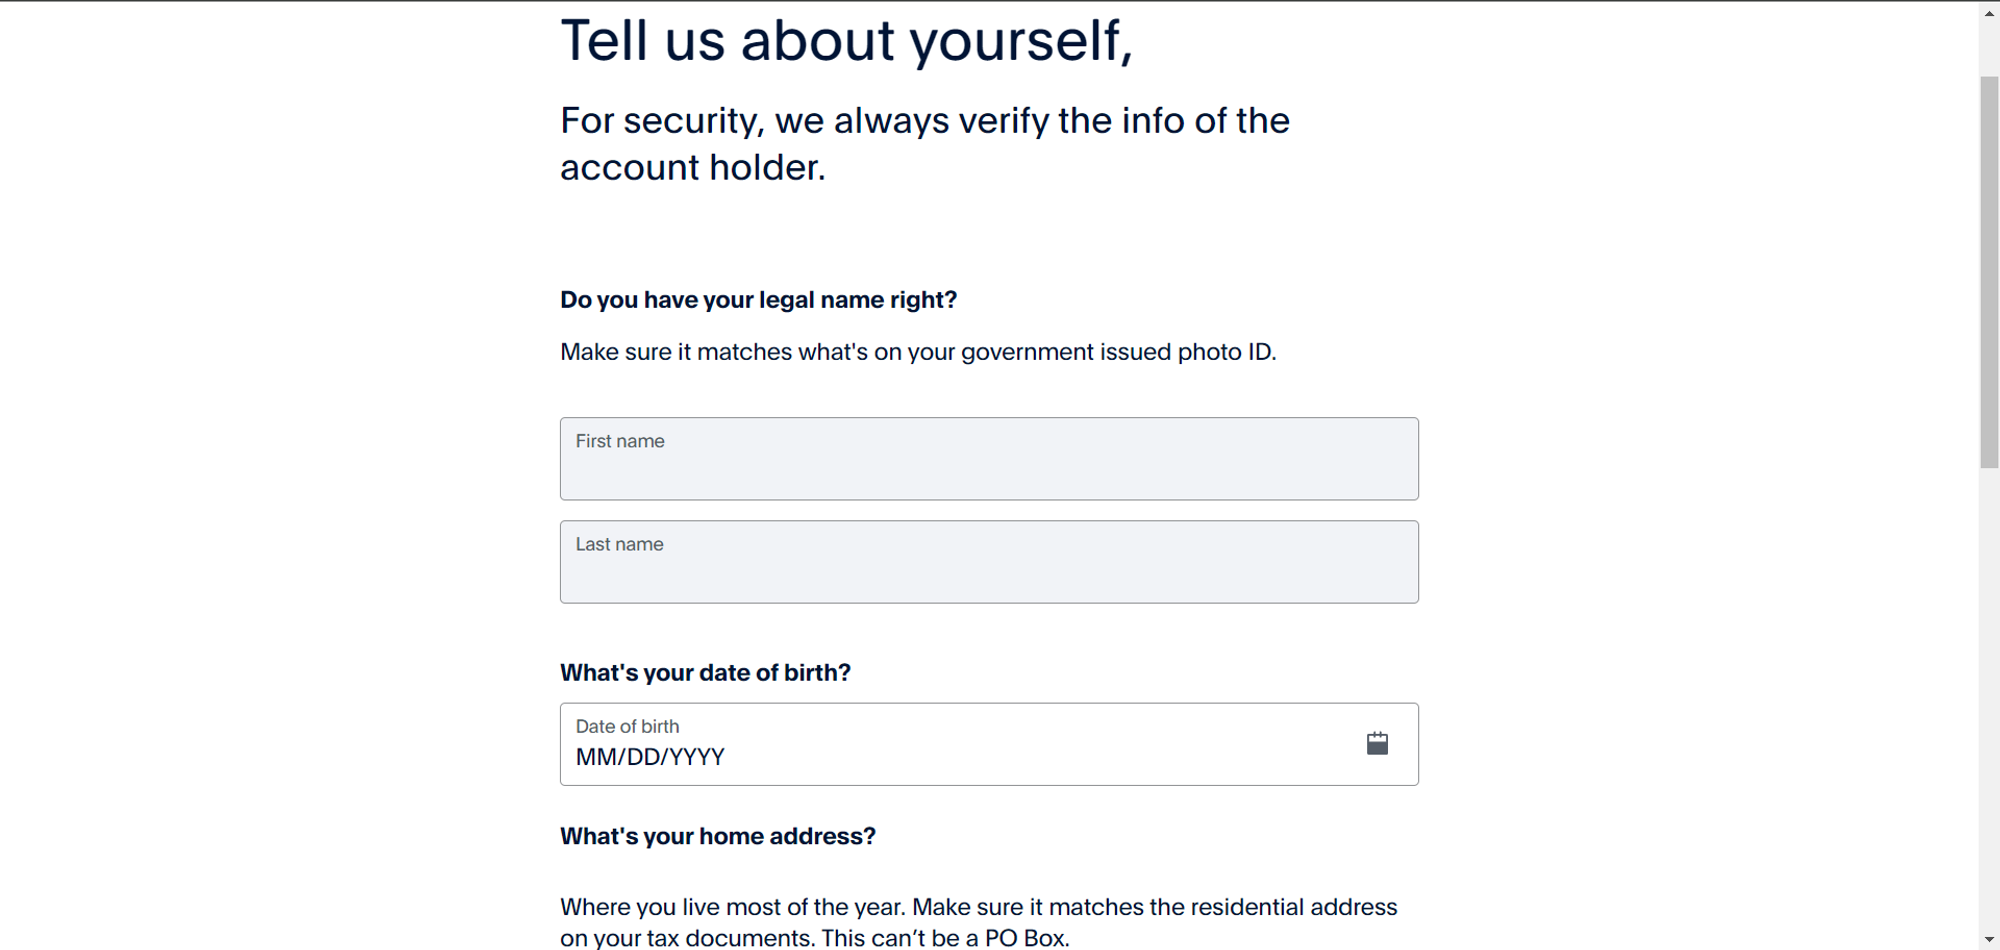
Step 7: Verify Your Personal Information
You will be required to verify your personal information as the account holder. PayPal will need this to validate your identity.
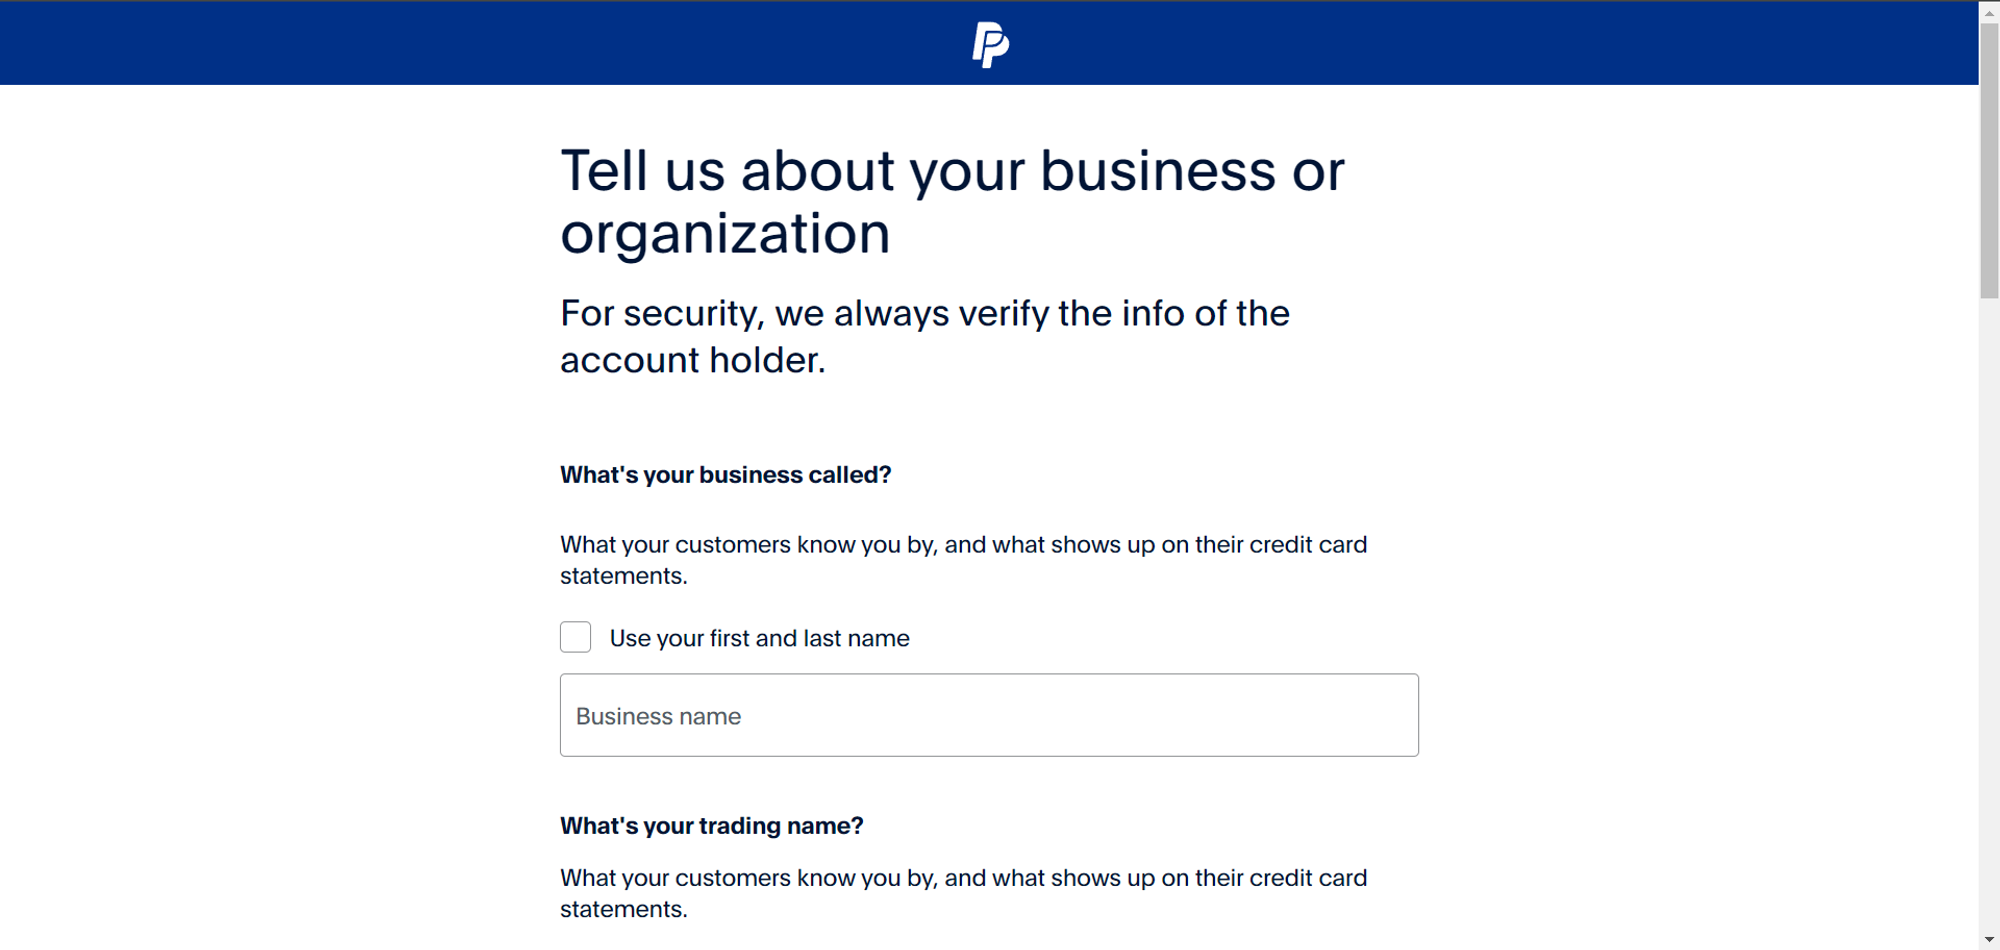
Step 8: Provide Business Information
Next, PayPal will ask for detailed information about your business or organization. Be cautious and accurate with the details, as providing incorrect information may result in your activation being declined by PayPal.
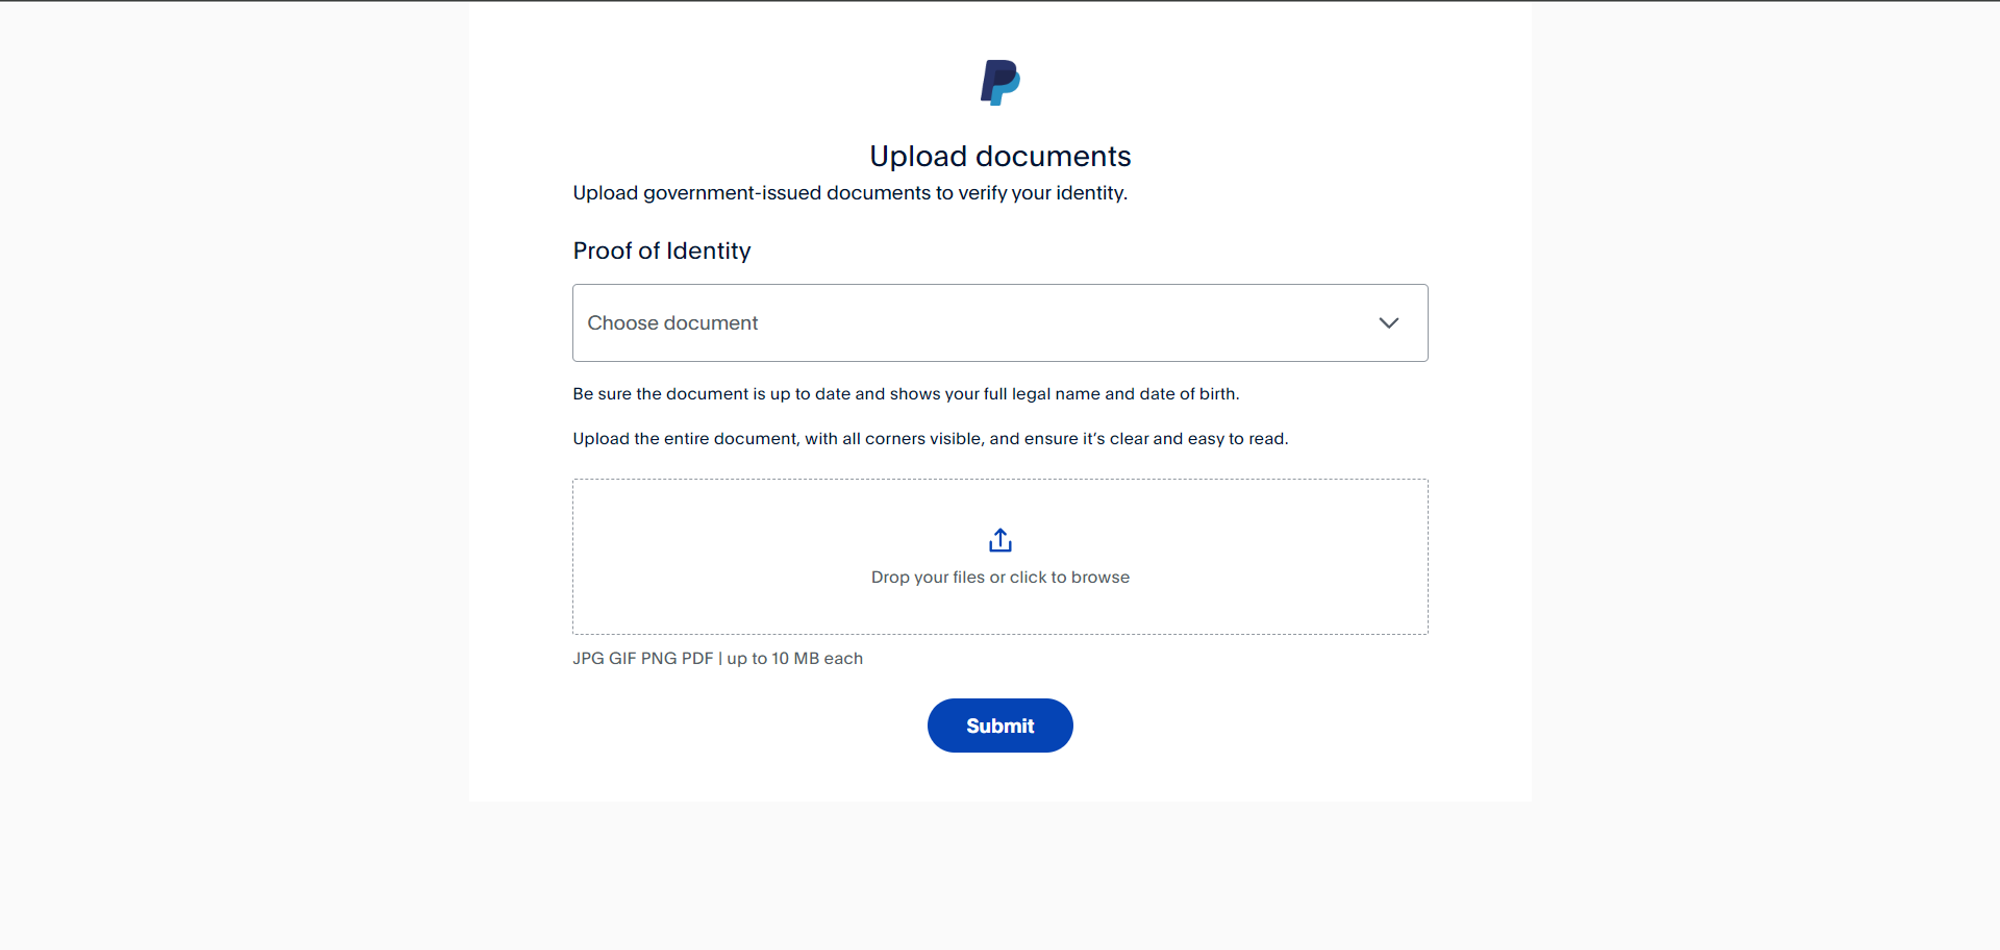
Step 9: Submit Proof of Identity
To complete the process, PayPal will request Proof of Identity. You’ll need to provide documents to verify your identity and your business.
Step 10: Wait for PayPal Verification
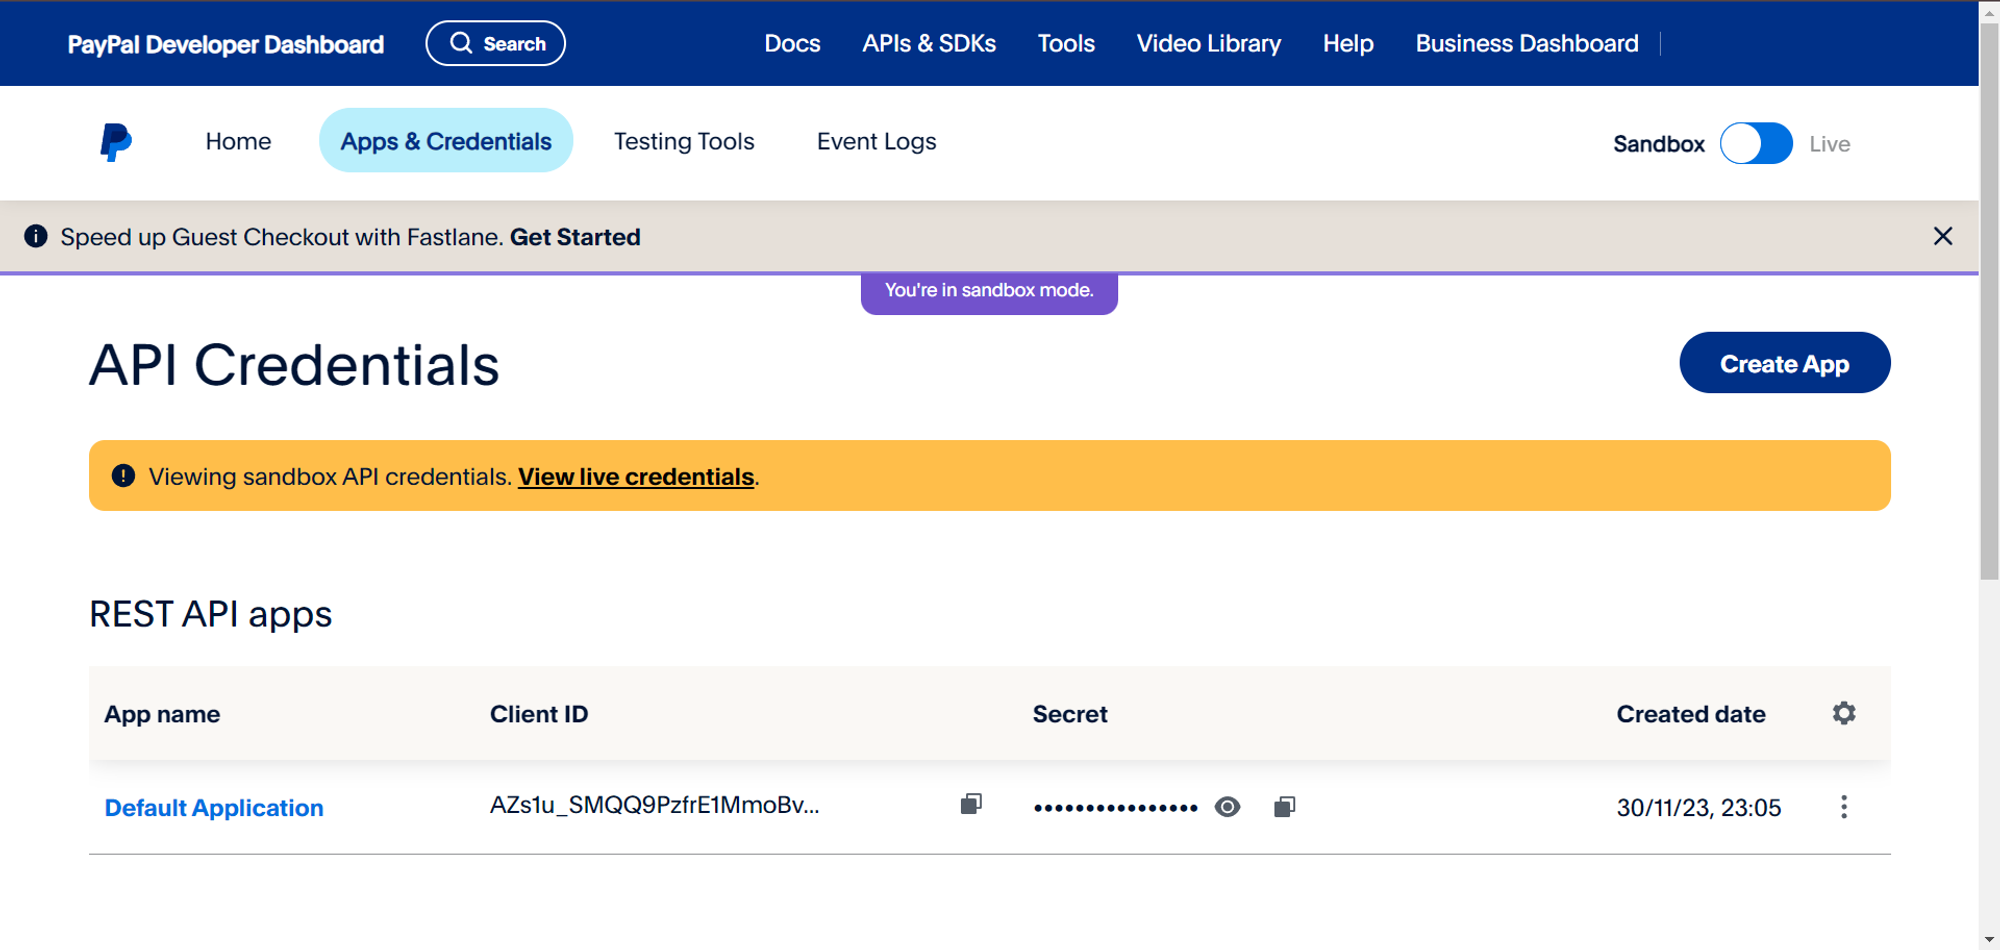
Once all information is provided, you’ll need to wait for PayPal to verify your account. After your account is verified, go to PayPal Developer Dashboard to obtain your API credentials.
Step 11: Copy API Credentials to Mysched
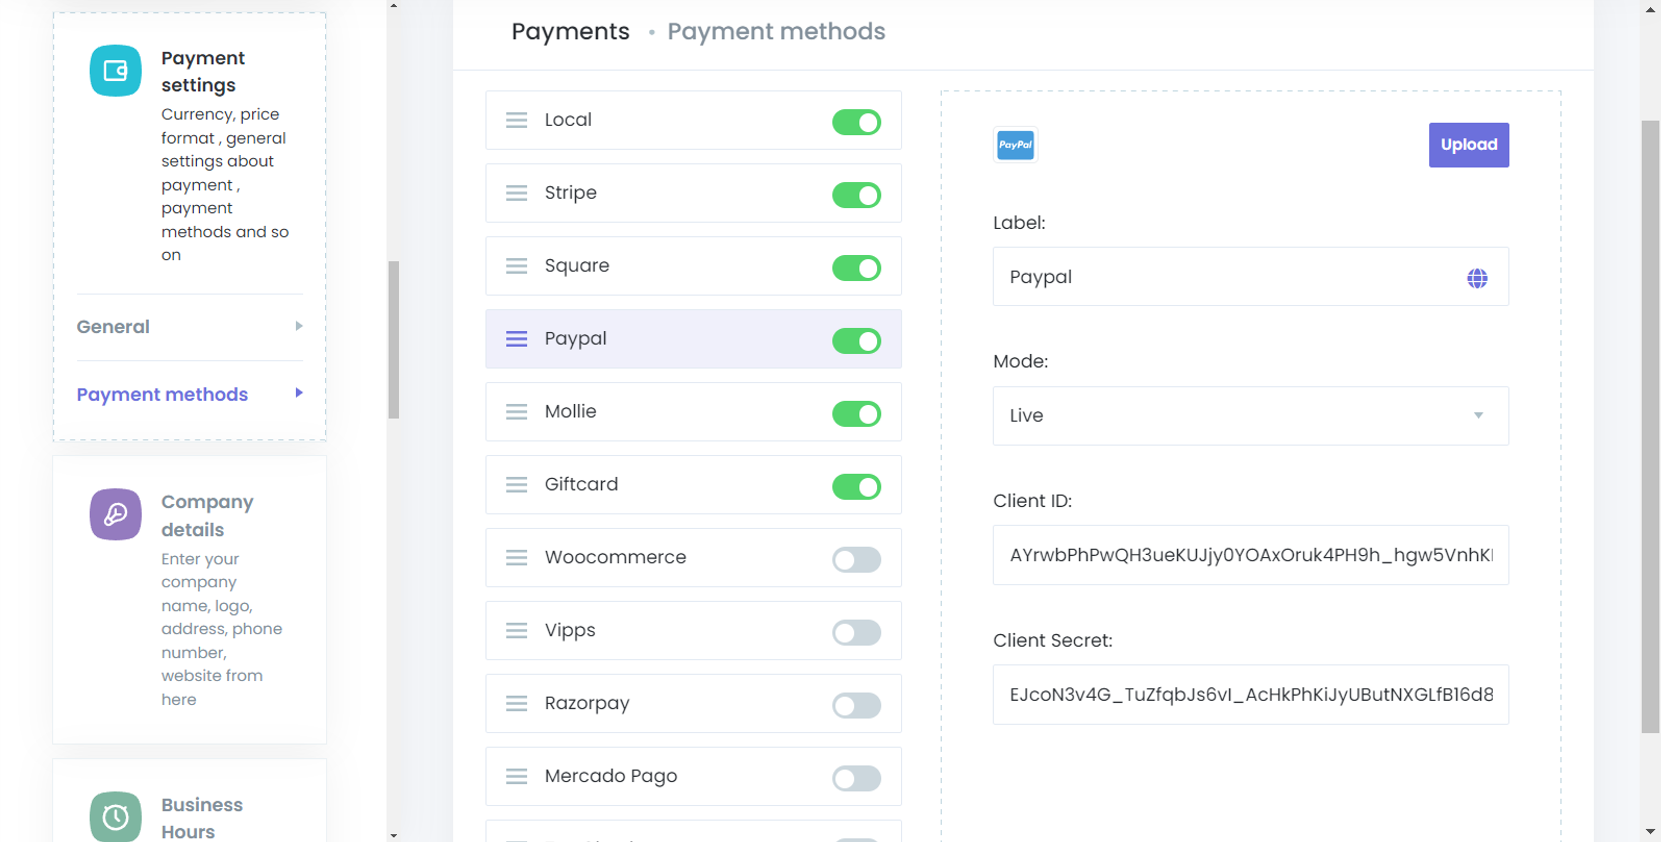
Now, copy the Client ID and Secret from the PayPal Developer Dashboard. Then, in your Mysched admin panel, navigate to Settings > Payment Settings > Payment Methods > PayPal, and paste the credentials there.
Step 12: Ensure Correct Mode is Set
Before you finalize the setup, ensure the correct mode is set in Mysched. If you’re using Live mode in Mysched, make sure to use live PayPal credentials. If you use sandbox credentials in live mode, PayPal will return errors.
By following these steps, you will have successfully integrated PayPal into Mysched for secure and smooth payment processing. Now, you can start receiving payments from your customers using PayPal!