VivoMeetings Integration
VivoMeetings is a cloud-based communication platform that offers video, voice, chat, and content sharing, ideal for businesses of all sizes. It allows seamless communication across devices and locations, supporting meetings, webinars, calls, and chat on platforms such as Mac, Windows, iOS, and Android. VivoMeetings can accommodate up to 300 video participants and 10,000 viewers per stream, making it a great solution for clinics, salons, and other service-based businesses.
With Mysched's VivoMeetings integration, virtual meetings are effortlessly managed. When an appointment is booked, VivoMeetings automatically schedules the meeting via API, and the meeting URL is sent to clients, staff, and admins using the Workflow module. The process is entirely automated, ensuring smooth meeting setup, and meetings can be joined directly from the staff and customer panels using the "Start Meeting" button.
How VivoMeetings Works with Mysched
Once integrated, VivoMeetings syncs directly with Mysched to automatically schedule and manage meetings. When an appointment is confirmed, the meeting is generated and the URL is sent to the relevant participants via notifications. Both staff and customers can join meetings from their respective dashboards with a single click.
Prerequisites:
- VivoMeetings Add-on: Ensure the VivoMeetings integration is activated within your Mysched admin panel.
- VivoMeetings Account: Make sure you have an active VivoMeetings account.
Step-by-Step Setup Guide for VivoMeetings Integration
Follow these steps to fully integrate VivoMeetings with Mysched and begin scheduling meetings automatically.
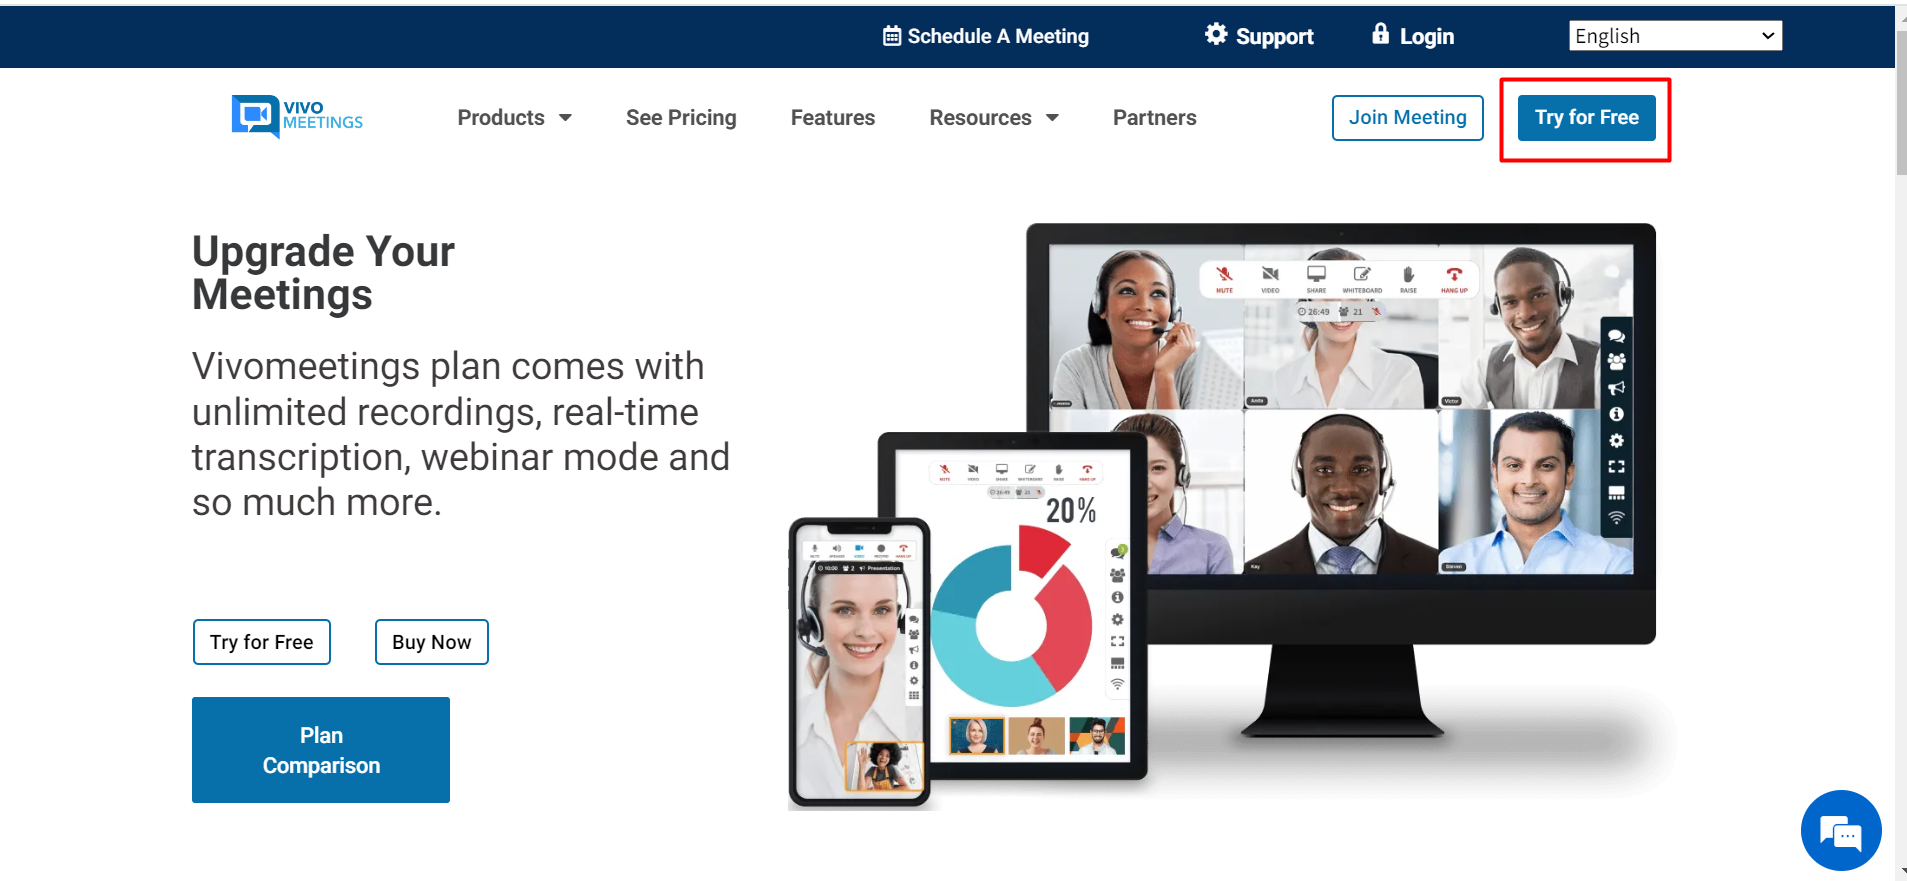
Step 1: Create a VivoMeetings Account
To start, visit vivomeetings.com and create a free account. This account will be connected to your Mysched system to handle virtual meetings.
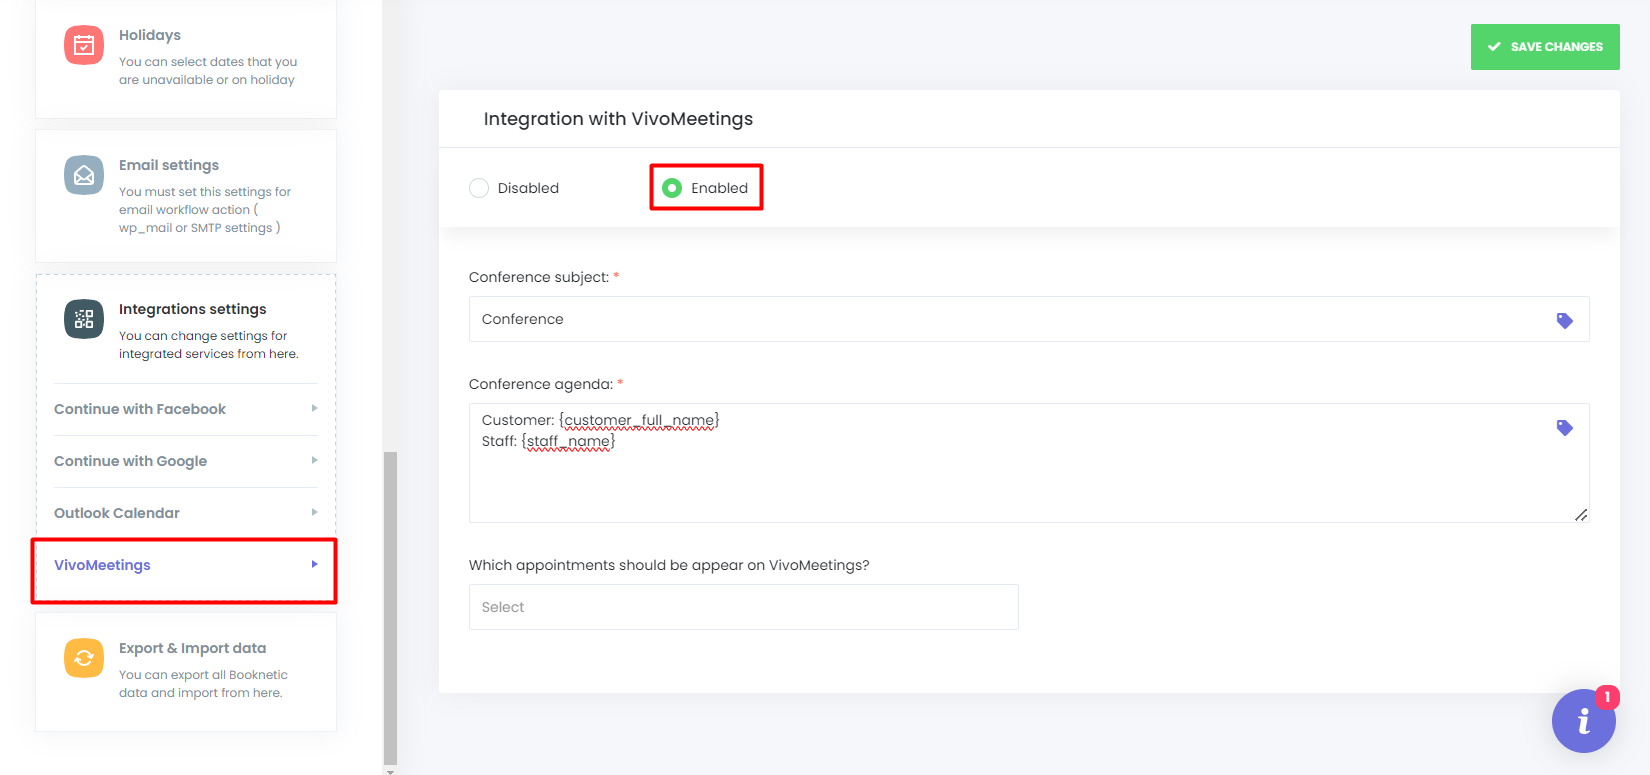
Step 2: Enable VivoMeetings Integration in Mysched
- Navigate to the Settings section of your Mysched dashboard.
- Select the Integrations tab.
- Enable VivoMeetings Integration.
- You can set the Conference Subject and Conference Agenda as desired, using available shortcodes to dynamically populate meeting details.
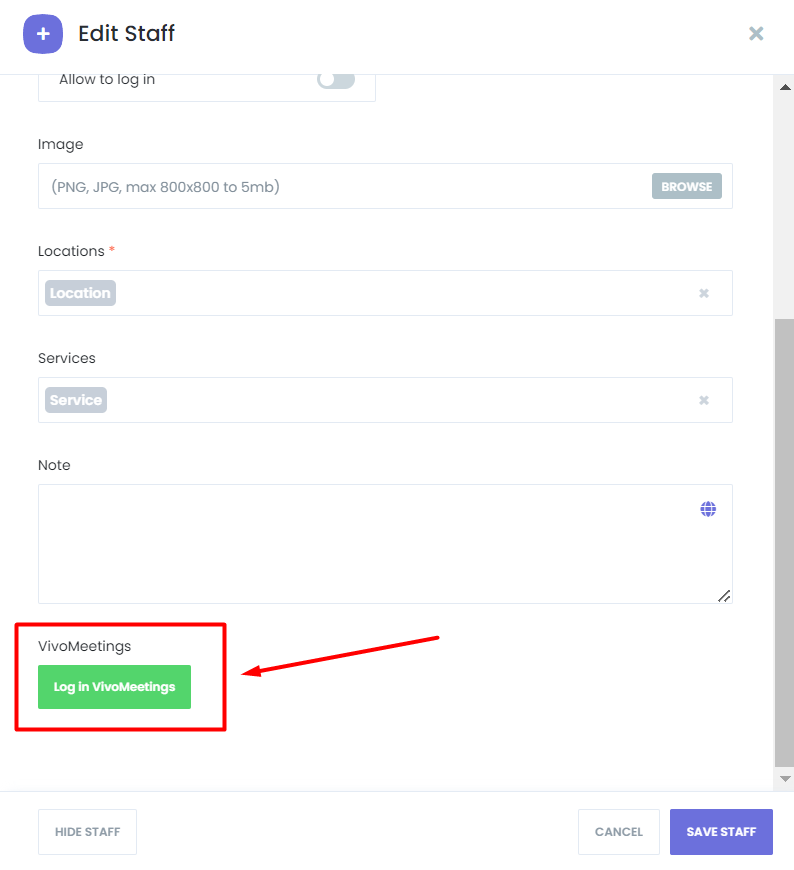
Step 3: Link Staff Members to VivoMeetings
- Go to the Staff module in Mysched.
- Select and edit the staff member profile you want to link with VivoMeetings.
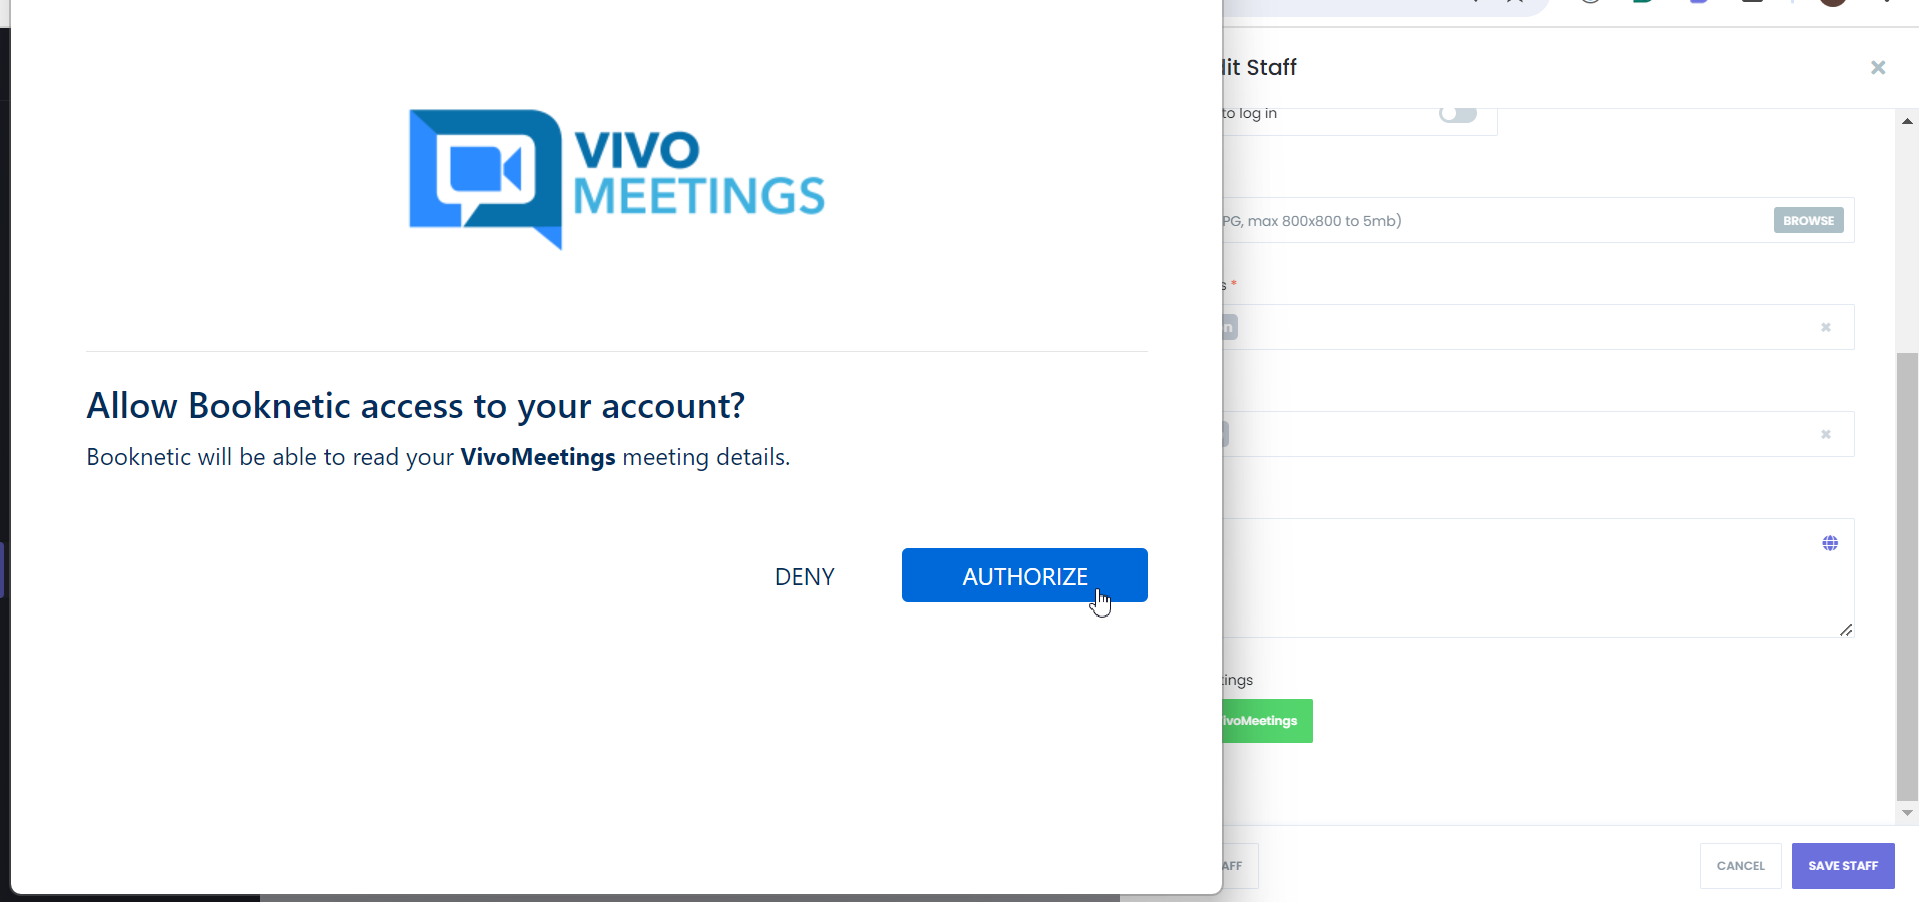
- Click the Log In VivoMeetings button to authorize the account.
- After logging in, click the Authorize button to connect the staff profile with their VivoMeetings account.
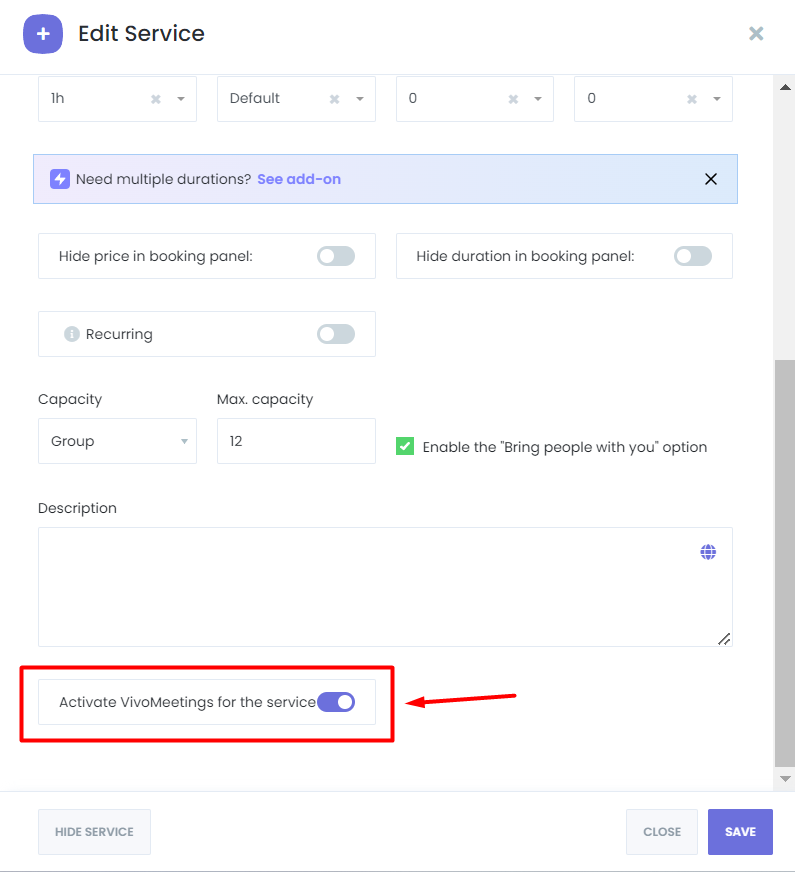
Step 4: Enable VivoMeetings for Services
- Navigate to the Services module in Mysched.
- Edit the service you want to enable VivoMeetings for.
- Toggle on the VivoMeetings option for the service to allow meetings to be scheduled automatically for appointments booked under this service.
Step 5: Set Up Workflow for VivoMeetings Notifications
- Go to the Workflows module in Mysched and create or edit an existing workflow.
- Add the
{vivomeetings_room_url}shortcode to the notification content. This shortcode will dynamically insert the meeting URL into your email, SMS, or WhatsApp notifications.
Managing and Attending Meetings
Once everything is set up, Mysched will automatically handle the scheduling of meetings in VivoMeetings for every applicable appointment. The VivoMeetings room URL will be sent to clients and staff, allowing them to join the meeting directly from their Mysched panel or email notifications.
Meetings can be joined using the Start Meeting button available on both the Staff Admin Panel and Customer Front-end Panel.
Two-Way Sync and Auto-Scheduling
- If an appointment is rescheduled in Mysched, the associated meeting will also be rescheduled in VivoMeetings.
- If an appointment is canceled or deleted, the corresponding meeting in VivoMeetings will also be automatically canceled.
Disconnecting VivoMeetings
Tenants can disconnect or switch VivoMeetings accounts at any time by returning to the Integrations tab in the Settings module and clicking the Disconnect button.
Uninstalling VivoMeetings Integration
To uninstall the VivoMeetings integration from your Mysched system:
- Log in to your VivoMeetings account.
- Navigate to the VivoMeetings App dashboard.
- Locate the Mysched integration and click Uninstall.
With VivoMeetings Integration in Mysched, managing and attending virtual appointments is easier than ever. Meetings are automatically created, scheduled, and managed, providing a seamless experience for both staff and clients.