User Role Manager
Overview
The User Role Manager add-on in Mysched allows administrators to create custom roles with specific permissions. These roles can then be assigned to staff members, giving you full control over what parts of the Mysched dashboard and system they can access.
This feature is useful for businesses with multiple staff members who require different levels of access to appointments, customers, and other system elements.
Key Features
With the User Role Manager, you can:
- Create Custom Roles: Define roles based on the specific permissions required by each user group.
- Assign Roles to Staff: After creating roles, you can assign staff members to these roles.
- Control Dashboard Access: Decide which dashboard items (appointments, customers, services, etc.) are visible to staff members.
- Set Visibility Options: Control whether staff can see only their own appointments and customers, all appointments and customers, or none at all.
- Restrict Access: You can also restrict staff access to certain modules entirely, depending on their role.
Detailed Permission Settings
Each module on the dashboard can be customized based on the staff member’s role:
- Appointments: Staff can be limited to see only their appointments, all appointments, or none.
- Customers: Control whether staff can view their customers or the entire customer database.
- Other Modules: Similar settings are available for other modules like services, locations, and reports, allowing complete customization of what each staff role can access.
The User Role Manager ensures that staff members only access the information and tools relevant to their responsibilities.
How to Set Up User Roles
- Navigate to User Role Manager: Go to the User Role Manager section in the Mysched admin panel.
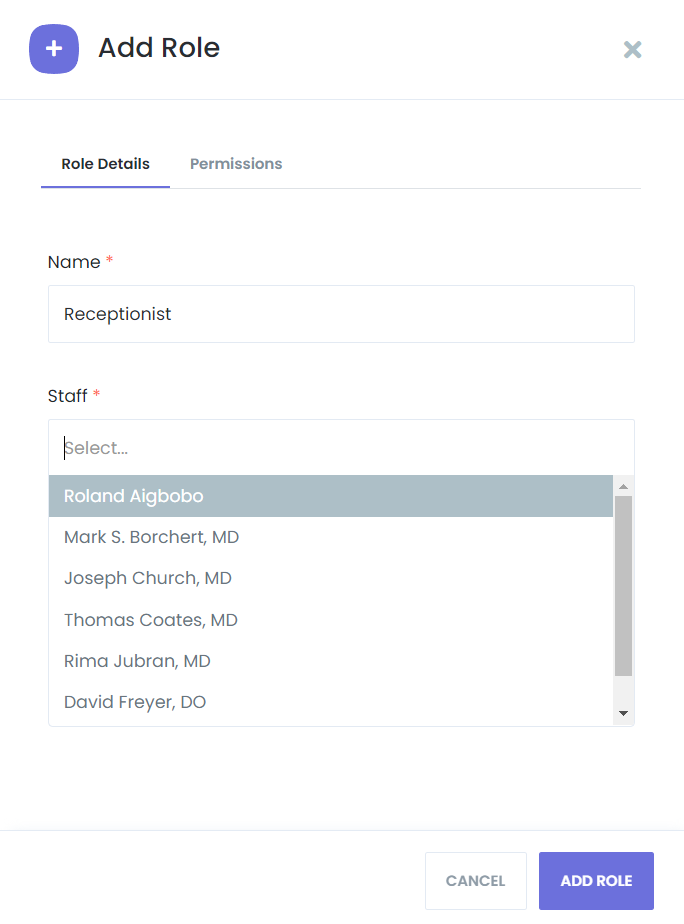
- Create a Role: Click + Add Role to start creating a new role.
- Assign Permissions: Select which dashboard items the role will have access to (appointments, customers, services, etc.). You can specify visibility settings for each item.
- Save Role: After configuring the permissions, click Save.
- Assign Staff to Roles: Once roles are created, you can assign staff members to the appropriate roles from the Staff Management section.
Example Use Case
Let’s say you manage a clinic with multiple departments and staff roles:
- Receptionists: They need access to all appointments and customers but should not have access to the financial or administrative settings.
- Doctors: They should only see their own appointments and customers, with no access to other doctors’ schedules or settings.
- Admins: Full access to all modules for managing the system and overseeing operations.
Using the User Role Manager, you can easily create these roles and assign permissions based on each staff member's role in your organization.
Conclusion
The User Role Manager in Mysched allows for precise control over staff permissions, ensuring that each team member has access only to the tools and data they need. This feature helps streamline operations, increase security, and reduce the risk of errors or unauthorized access.